Homebrewing a Steinbier
What’s a Steinbier
Steinbier simply means “stone beer” in German. It is an old brewing process, that involves using super heated rocks
added to the wort to boil it. This process dates back to the early days of brewing, before the introduction of large
metal kettles which could be heated by flame to produce a boil.
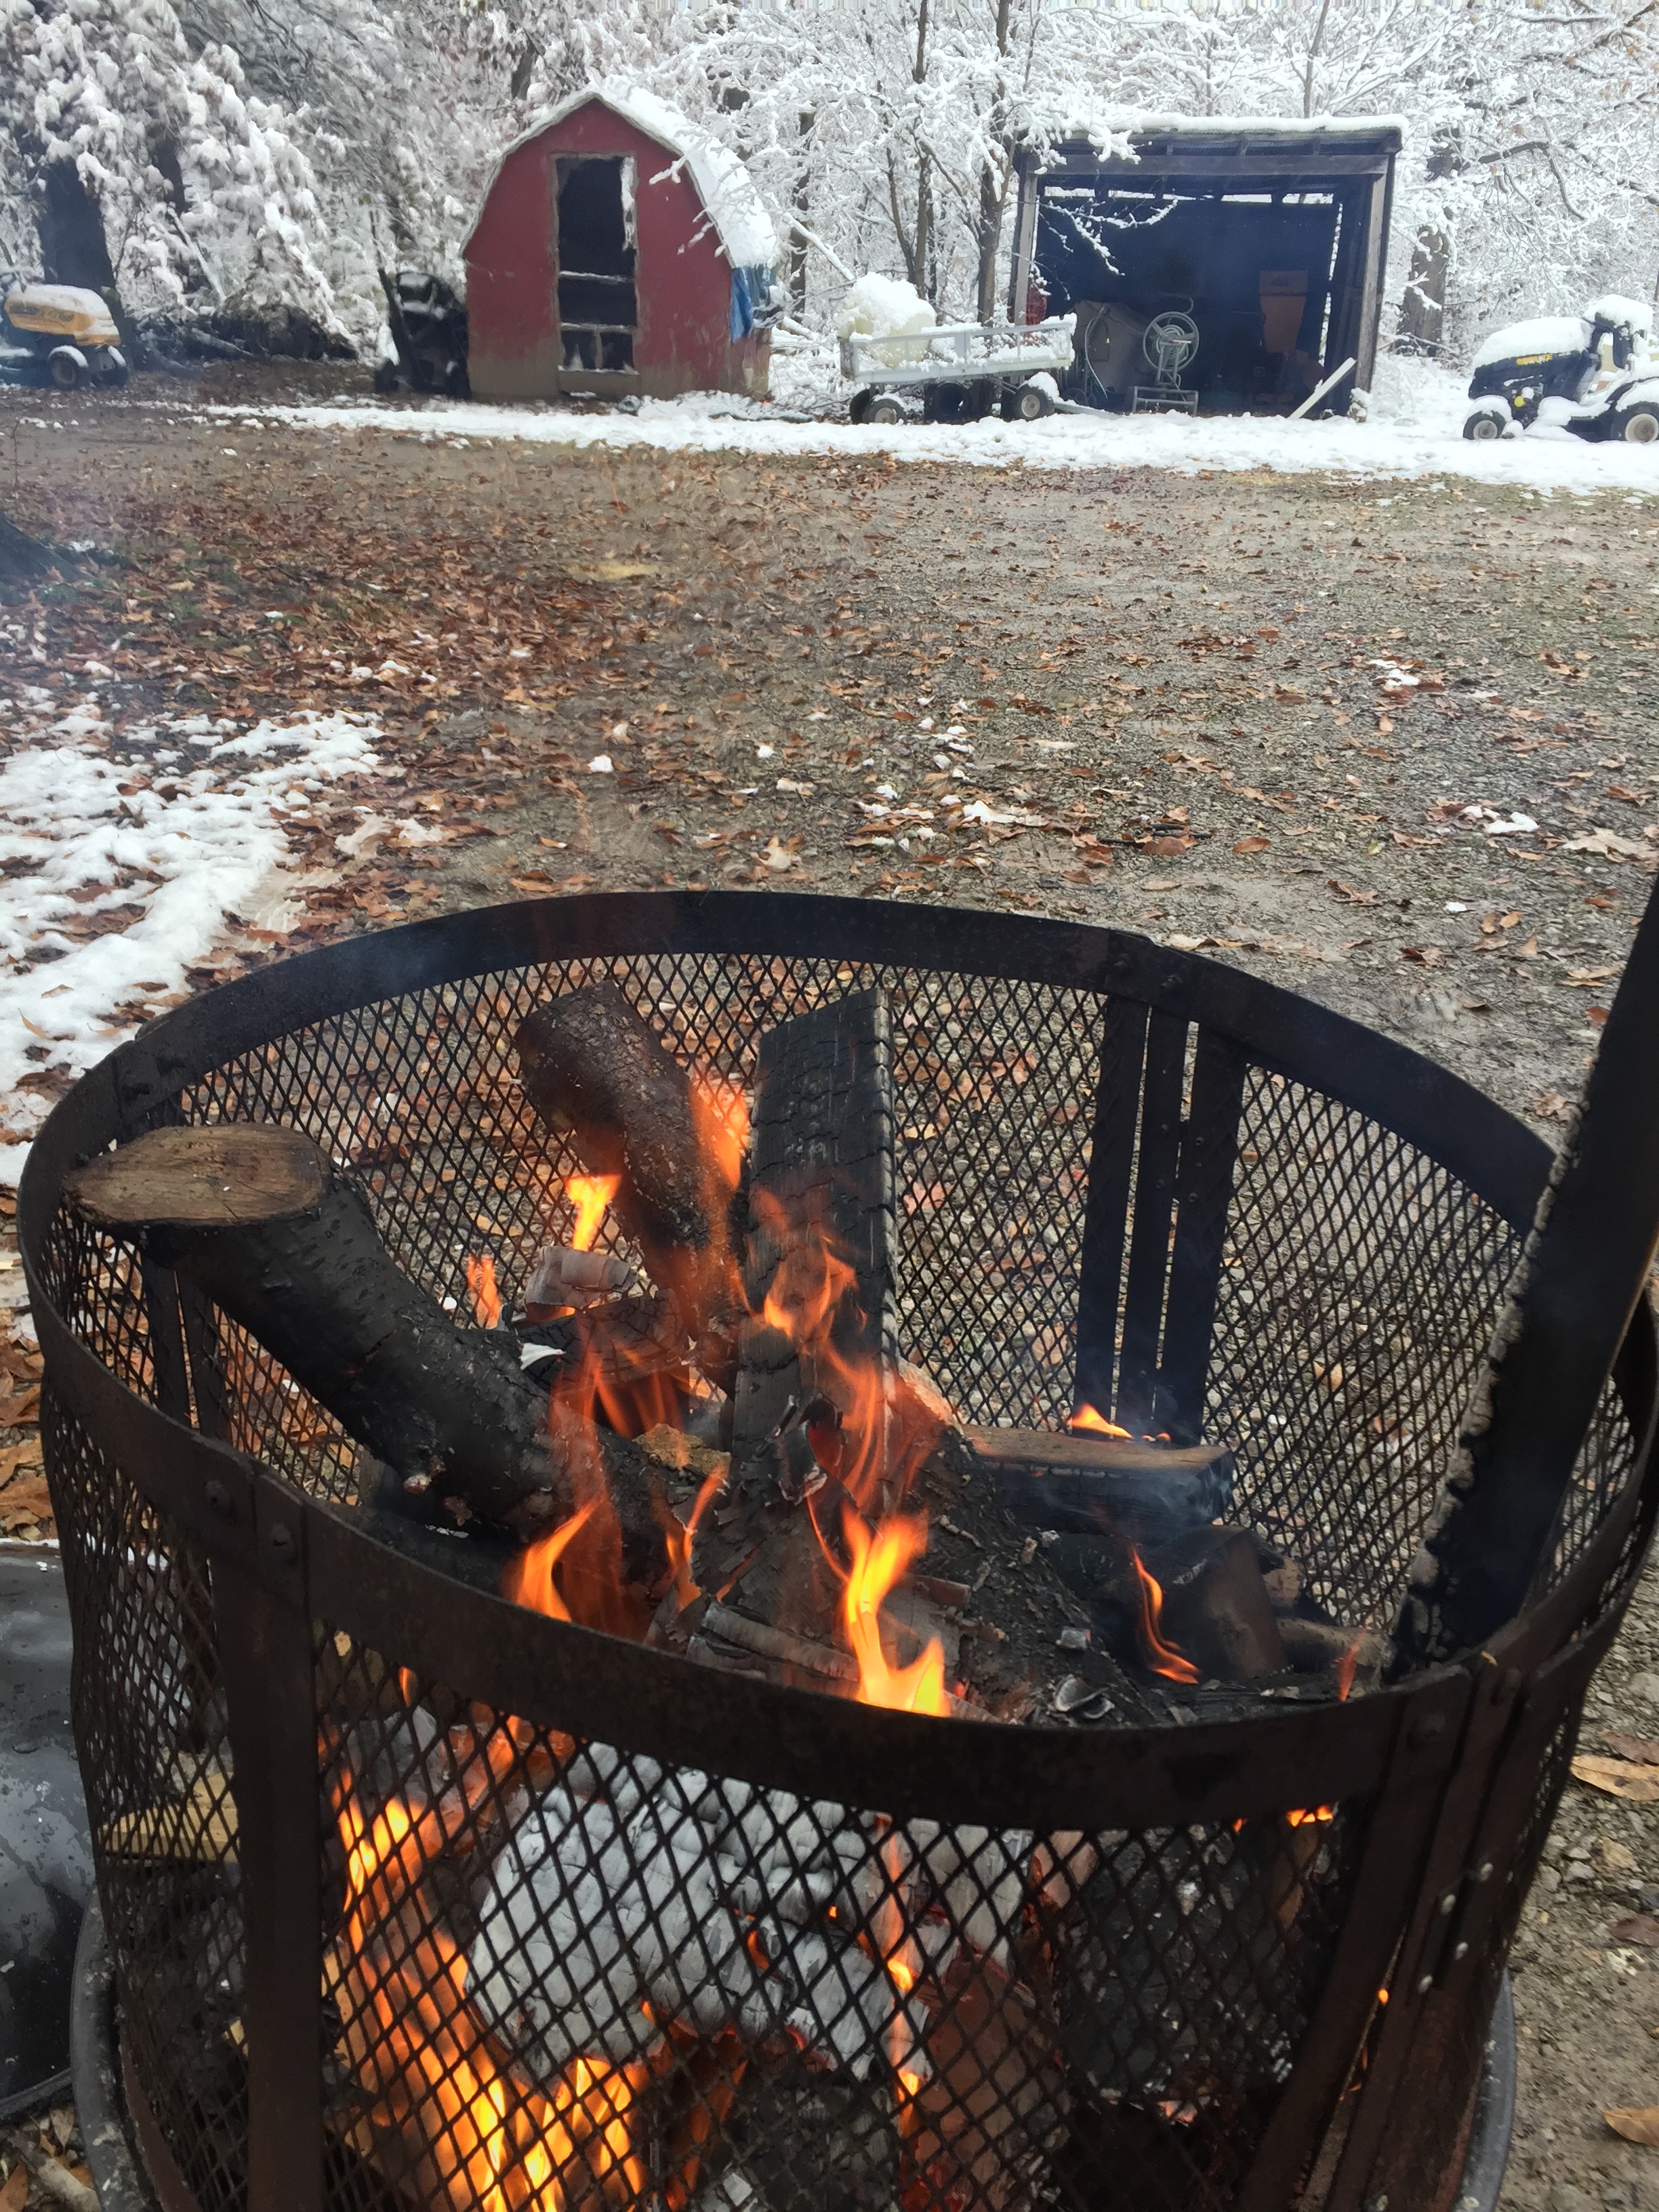
I can’t recall when it was that I learned about steinbiers but I have been intrigued by the idea ever since and had been hoping to try it out. I’d spent the year of 2018 trying out many different new beer styles and weird ingredients so I figured there was no better way to end 2018: My Year of Weird, than with a stienbier brew. Plus, a bonfire while making beer sounds like a great time to me.
Before I get too much further along, I’d like to give a big shoutout to the folks at Scratch Brewing in Ava, IL. They have made several stienbiers in the past and gave me some helpful advice when I was in the research phase of this brew. If you haven’t had any of their beers or been to their brewery, I highly suggest you make it a priority!
Where Do You Get The Stones?!
The major component of a steinbier is the stone that you use. Not just any rock will work as you will need something that can withstand being super heated and then cooled to 212F to boil your wort. Igneous-types of stone like granite and soapstone are great candidates. What you use will depend on what is available to you.
There are a couple different ways of incorporating the stones. One of the most common I have found simply just involves using the rocks in the boil and heating everything else like you would any other brew day but there are folks who use the stones as a sole method of heating everything or even dropped into the mash along with the grains. I opted for the “rocks only in the boil” technique to keep it simple my first time around.
I decided to use granite as I figured it would be the easiest for me to source. I started out by calling a local countertop shop to see if they had any scrap I could use. They kindly allowed me to scavenge their scrap field and pick out whatever I wanted.
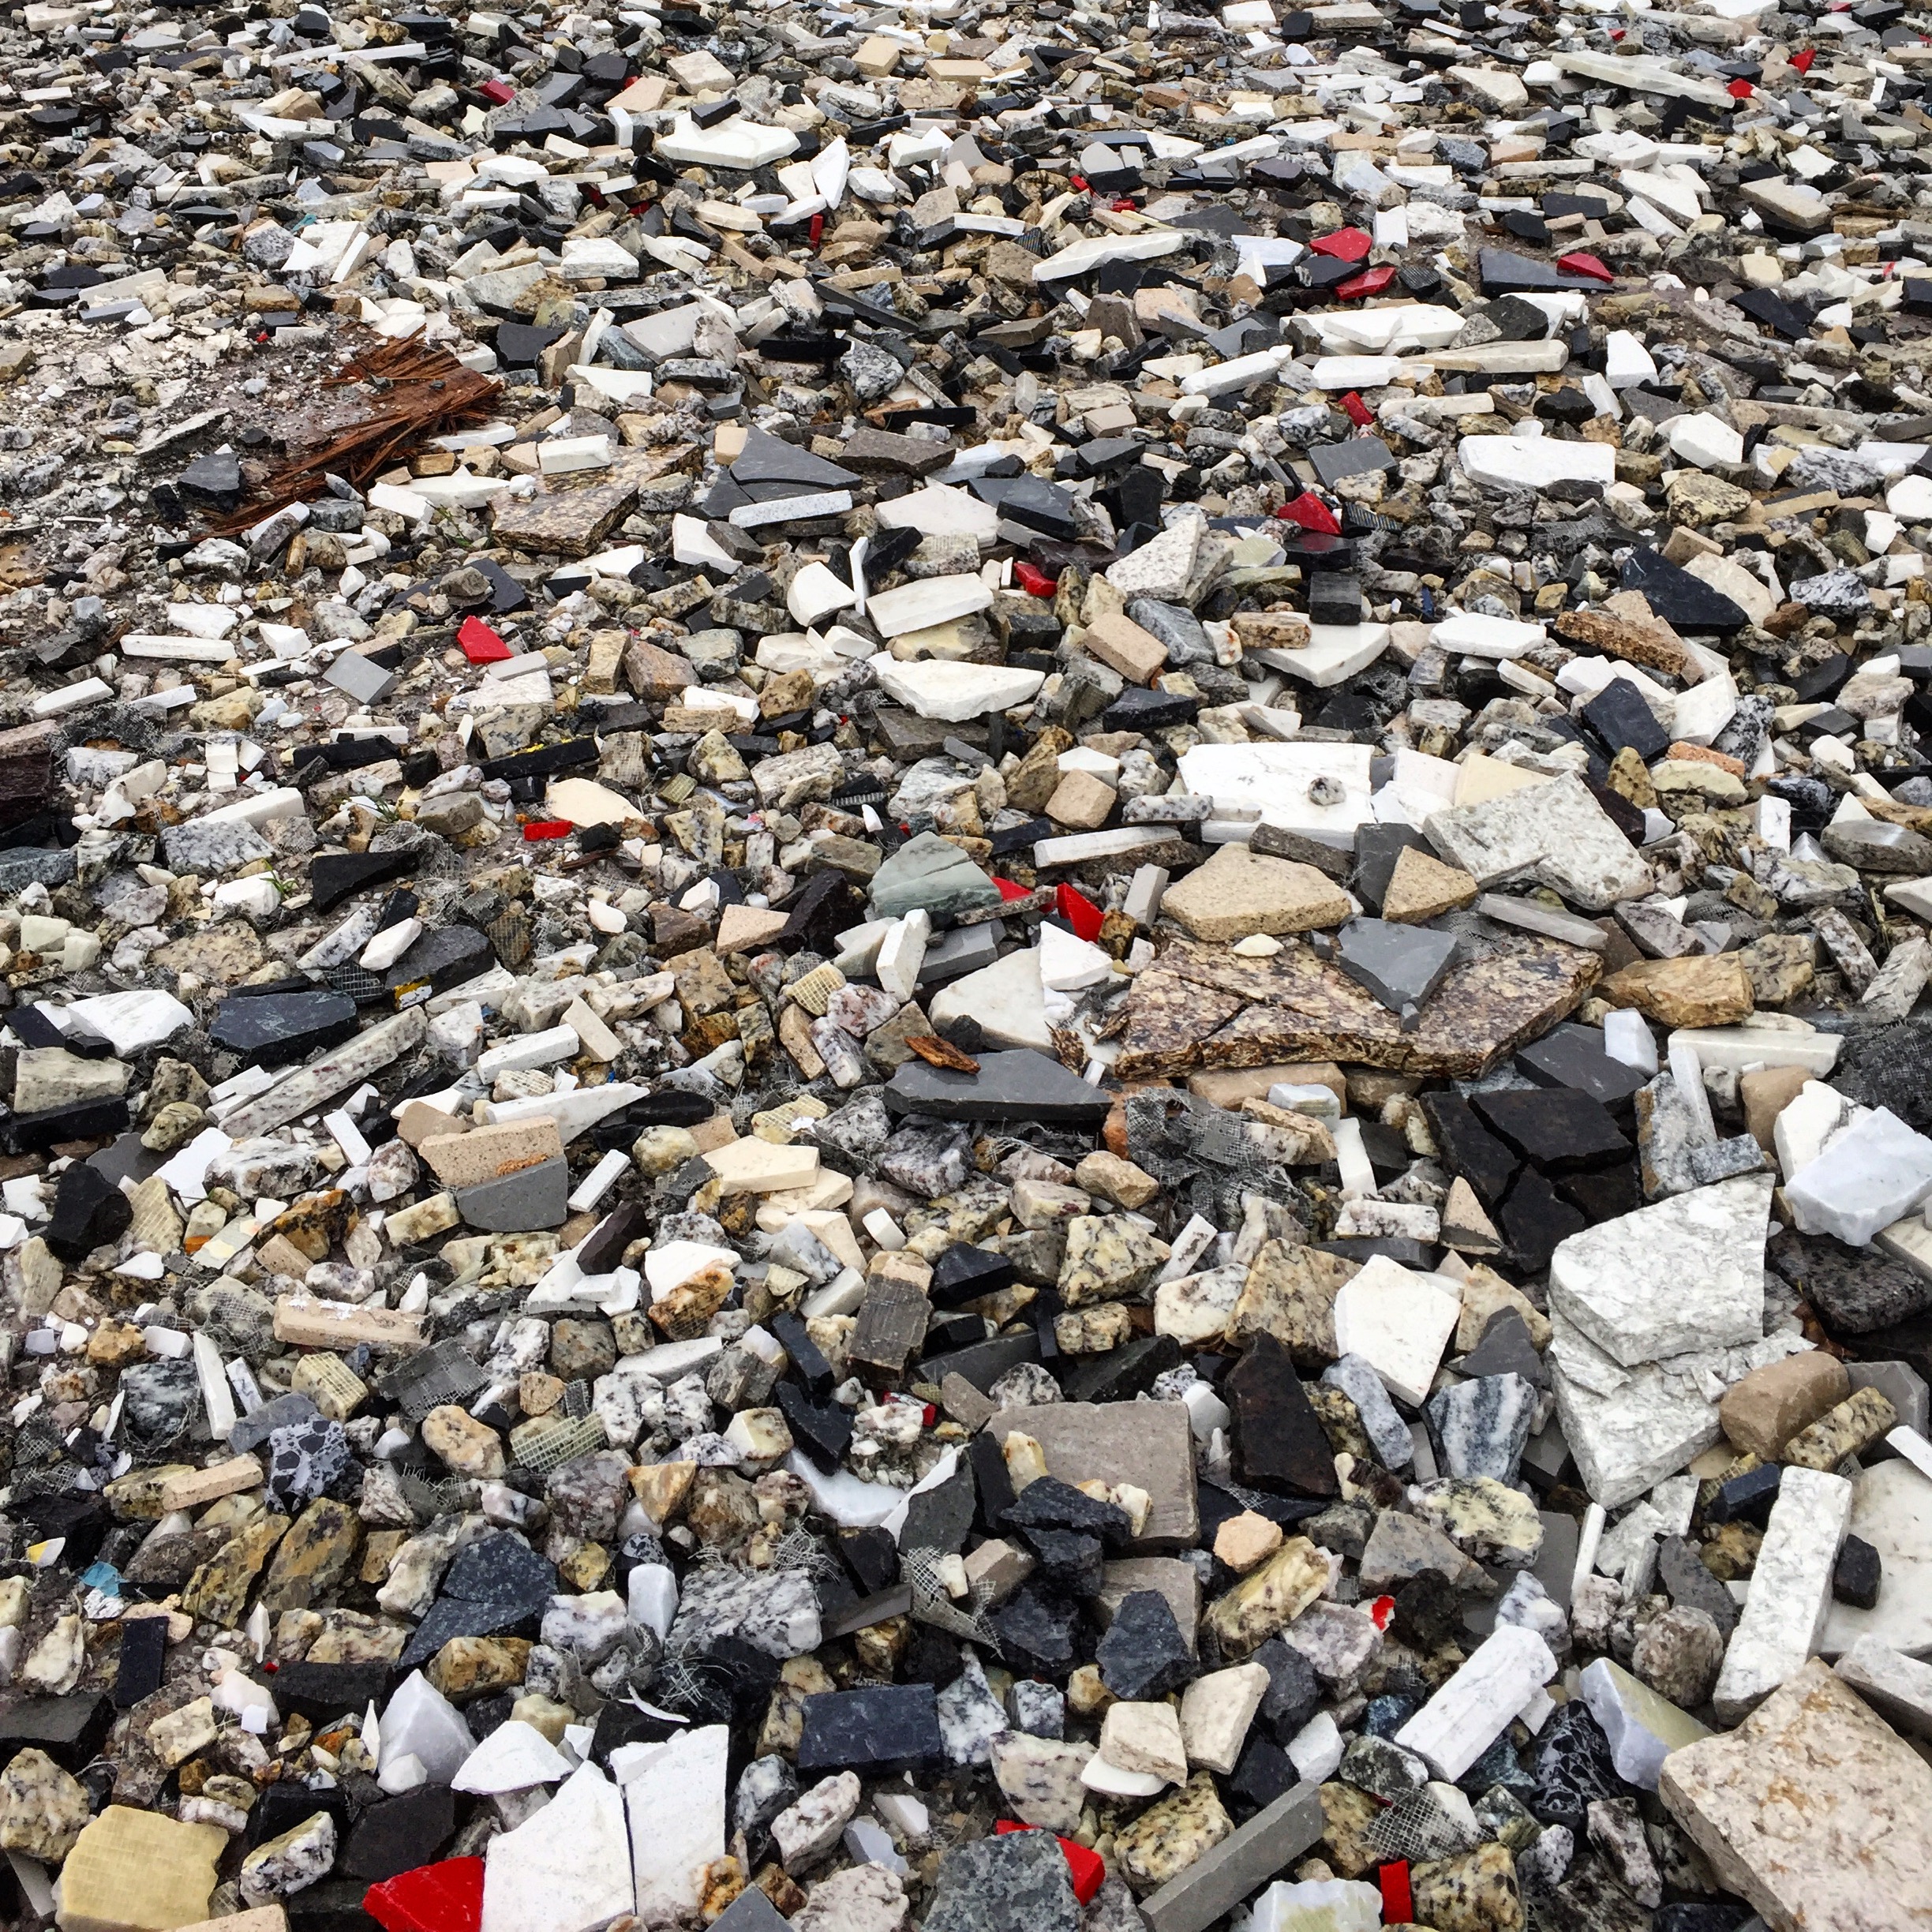
I grabbed about 16 or so fist-sized chunks of what looked like granite countertop scrap. However, I found myself second guessing the quality of the scrap and if it would be good for my purposes or not. I eventually stumbled across a video from Sixpoint Brewery that documented their process of brewing a stienbier. They had sourced granite counter scrap similar to mine and decided not to use it as it easily broke in half after one use. While I would be using a different technique than they employed, I also decided to look elsewhere for my stones.
Fortunately, my girlfriend’s father used to work construction and had several large blocks of granite left over from a previous job. He and I went out and hit one with a sledge hammer several times to produce chunks of raw Missouri granite that would be perfect for my stienbier. I took home a 5gal bucket full of granite rocks and then refined some of the sharper edges with a hammer and chisel to reduce the likelihood of any of the edges from shattering off into my kettle due to the heat.
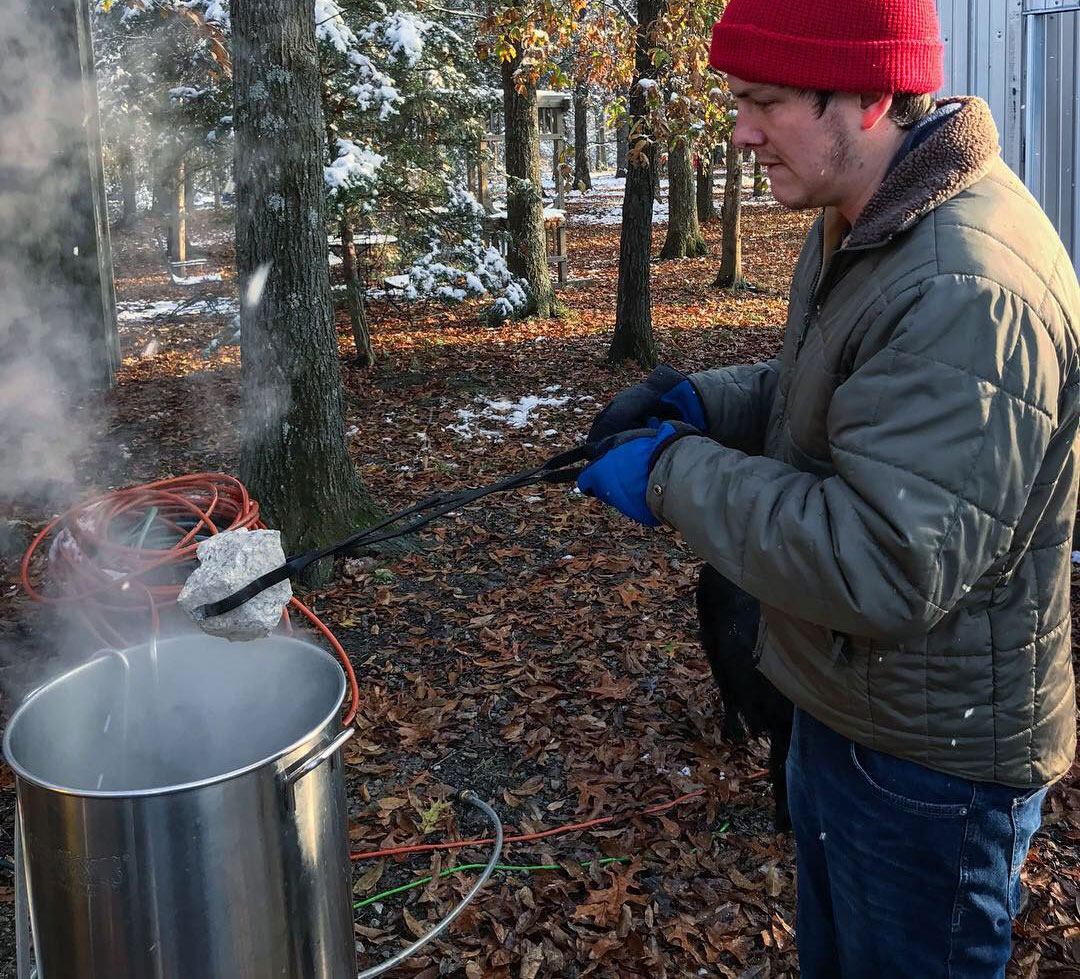
I knew moving super heated rocks from a fire to my kettle would be difficult and didn’t really own any tongs that would work well for the job. I found these 26in firewood tongs on Amazon and decided to give them a shot. I’m happy to report they worked well. They are pretty thin so grabbing a rock the wrong way could easily mean accidentally dropping it so you need to make sure you have a good grip with them.
Local Malts, Cedar Tips, and Kveik!
While making a stienbier was unique enough, I wanted to go a little further with it. I had recently learned a small, artisan maltster in my area who had opened up earlier in 2018. They specialized in malting grains grown in the Midwest, including some red wheat that was grown just a couple counties over from where I live. I was super excited about the idea of using locally grown and malted grains in this beer so I reached out to Gateway Custom Malts to see if I could get my hands on some of their malts. Not only did I get the malts but I was given a tour of their facility in Montgomery City which was pretty awesome.
I also decided to try an ingredient I had been wanting to use for a while. Eastern Red Cedar is very common here in my area of the country. It is technically a species of juniper and it can be used in brewing in many different forms including the bark, berries and tips of the green branches. While the nuances of the flavor and aroma from the cedar tips can vary depending on location and time of year, the usually put off a crisp orange peel aroma and produce a piney green gin-like flavor.

Once again, the folks at Scratch Brewing helped me out here. I referenced their “The Homebrewer’s Almanac” many times during the planning process for tips on brewing with cedar. If you are into using hyper local or foraged ingredients in your brews, this book is a fantastic reference!
Before we get to the recipe, I’d like to talk about yeast choice. On a commercial scale, steinbiers are typically lagers. As far as I can find, there isn’t much of a reason behind this other than it’s just what has always been done. Since “steinbier” is more of a process vs a style, any yeast will do the job. Since I would not be able to provide very accurate temperature control for this beer, I decided to try Omega’s HotHead. It is a strain of kviek yeast, which would play into some of the traditional Norwegian aspects of this beer by using cedar and boiling with rocks. Also, it can ferment at temps up to 98F which is ideal for the type of fermentation I was going to need to do with this beer.
I grabbed a pack from my local shop but found it to be nearly 6 months old. I was a little nervous at first as it should have lost a lot of viability at that point. However, after talking to some folks who had worked with it before, they suggested that HotHead works really well when under-pitched and the smaller cell count wouldn’t have an issue with the higher gravity of my recipe. In short, don’t worry about under pitching this yeast. It had no issues getting going and making a great beer!
Recipe
Taken for Granite - Cedar stienbier - 5gal
OG: 1.068
24 IBu
5.7SRM
Malt
10lb Gateway Custom Malt Violetta 2 Row
2lb Gateway Custom Malt Soft Red Winter Wheat
.25lb Caramel 40
Hops
1oz Hallertau 60min
1oz Citra 10min
Yeast
Omega OYL-057 HotHead Ale
Miscellaneous
6oz of green Eastern Red Cedar tips split between mash and sparge water.
Steps
Build a large fire around your stones and light it about 3-4 hours before you plan to boil your wort. You may need to
keep feeding the fire so it stays warm. Hardwoods like oak and elm will burn nice and hot and are excellent choices for
fuel.
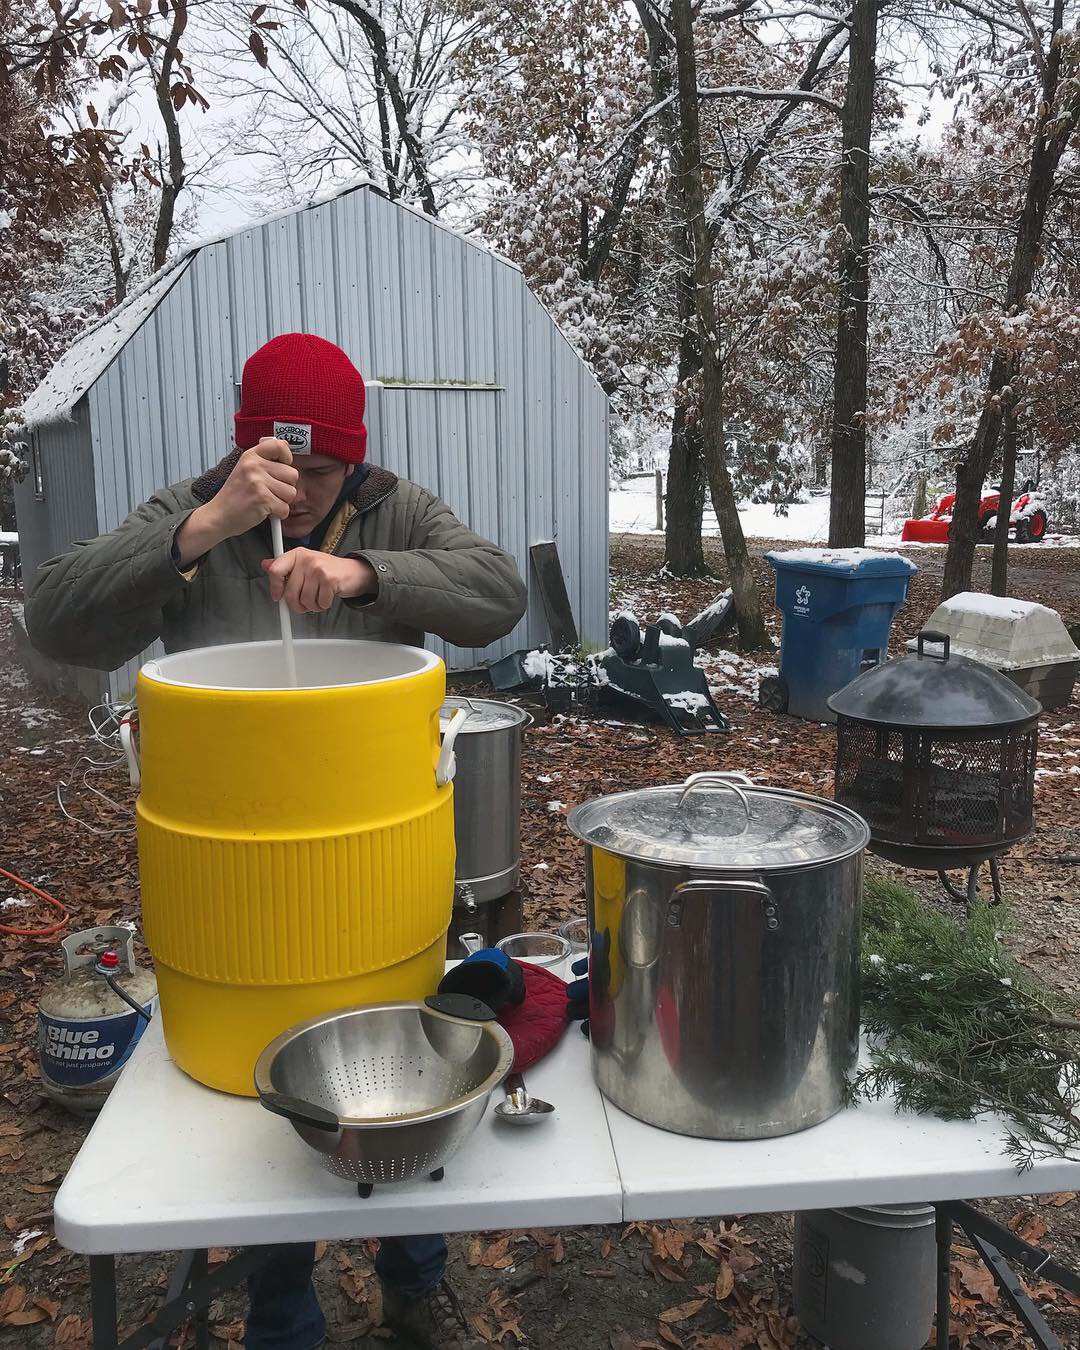
After the fire has burned for a couple hours, go ahead and prepare your mash. I choose to aim for a mash temp of 154F
for a nice medium-full bodied beer but this is open to your interpretation if you would like to try something different.
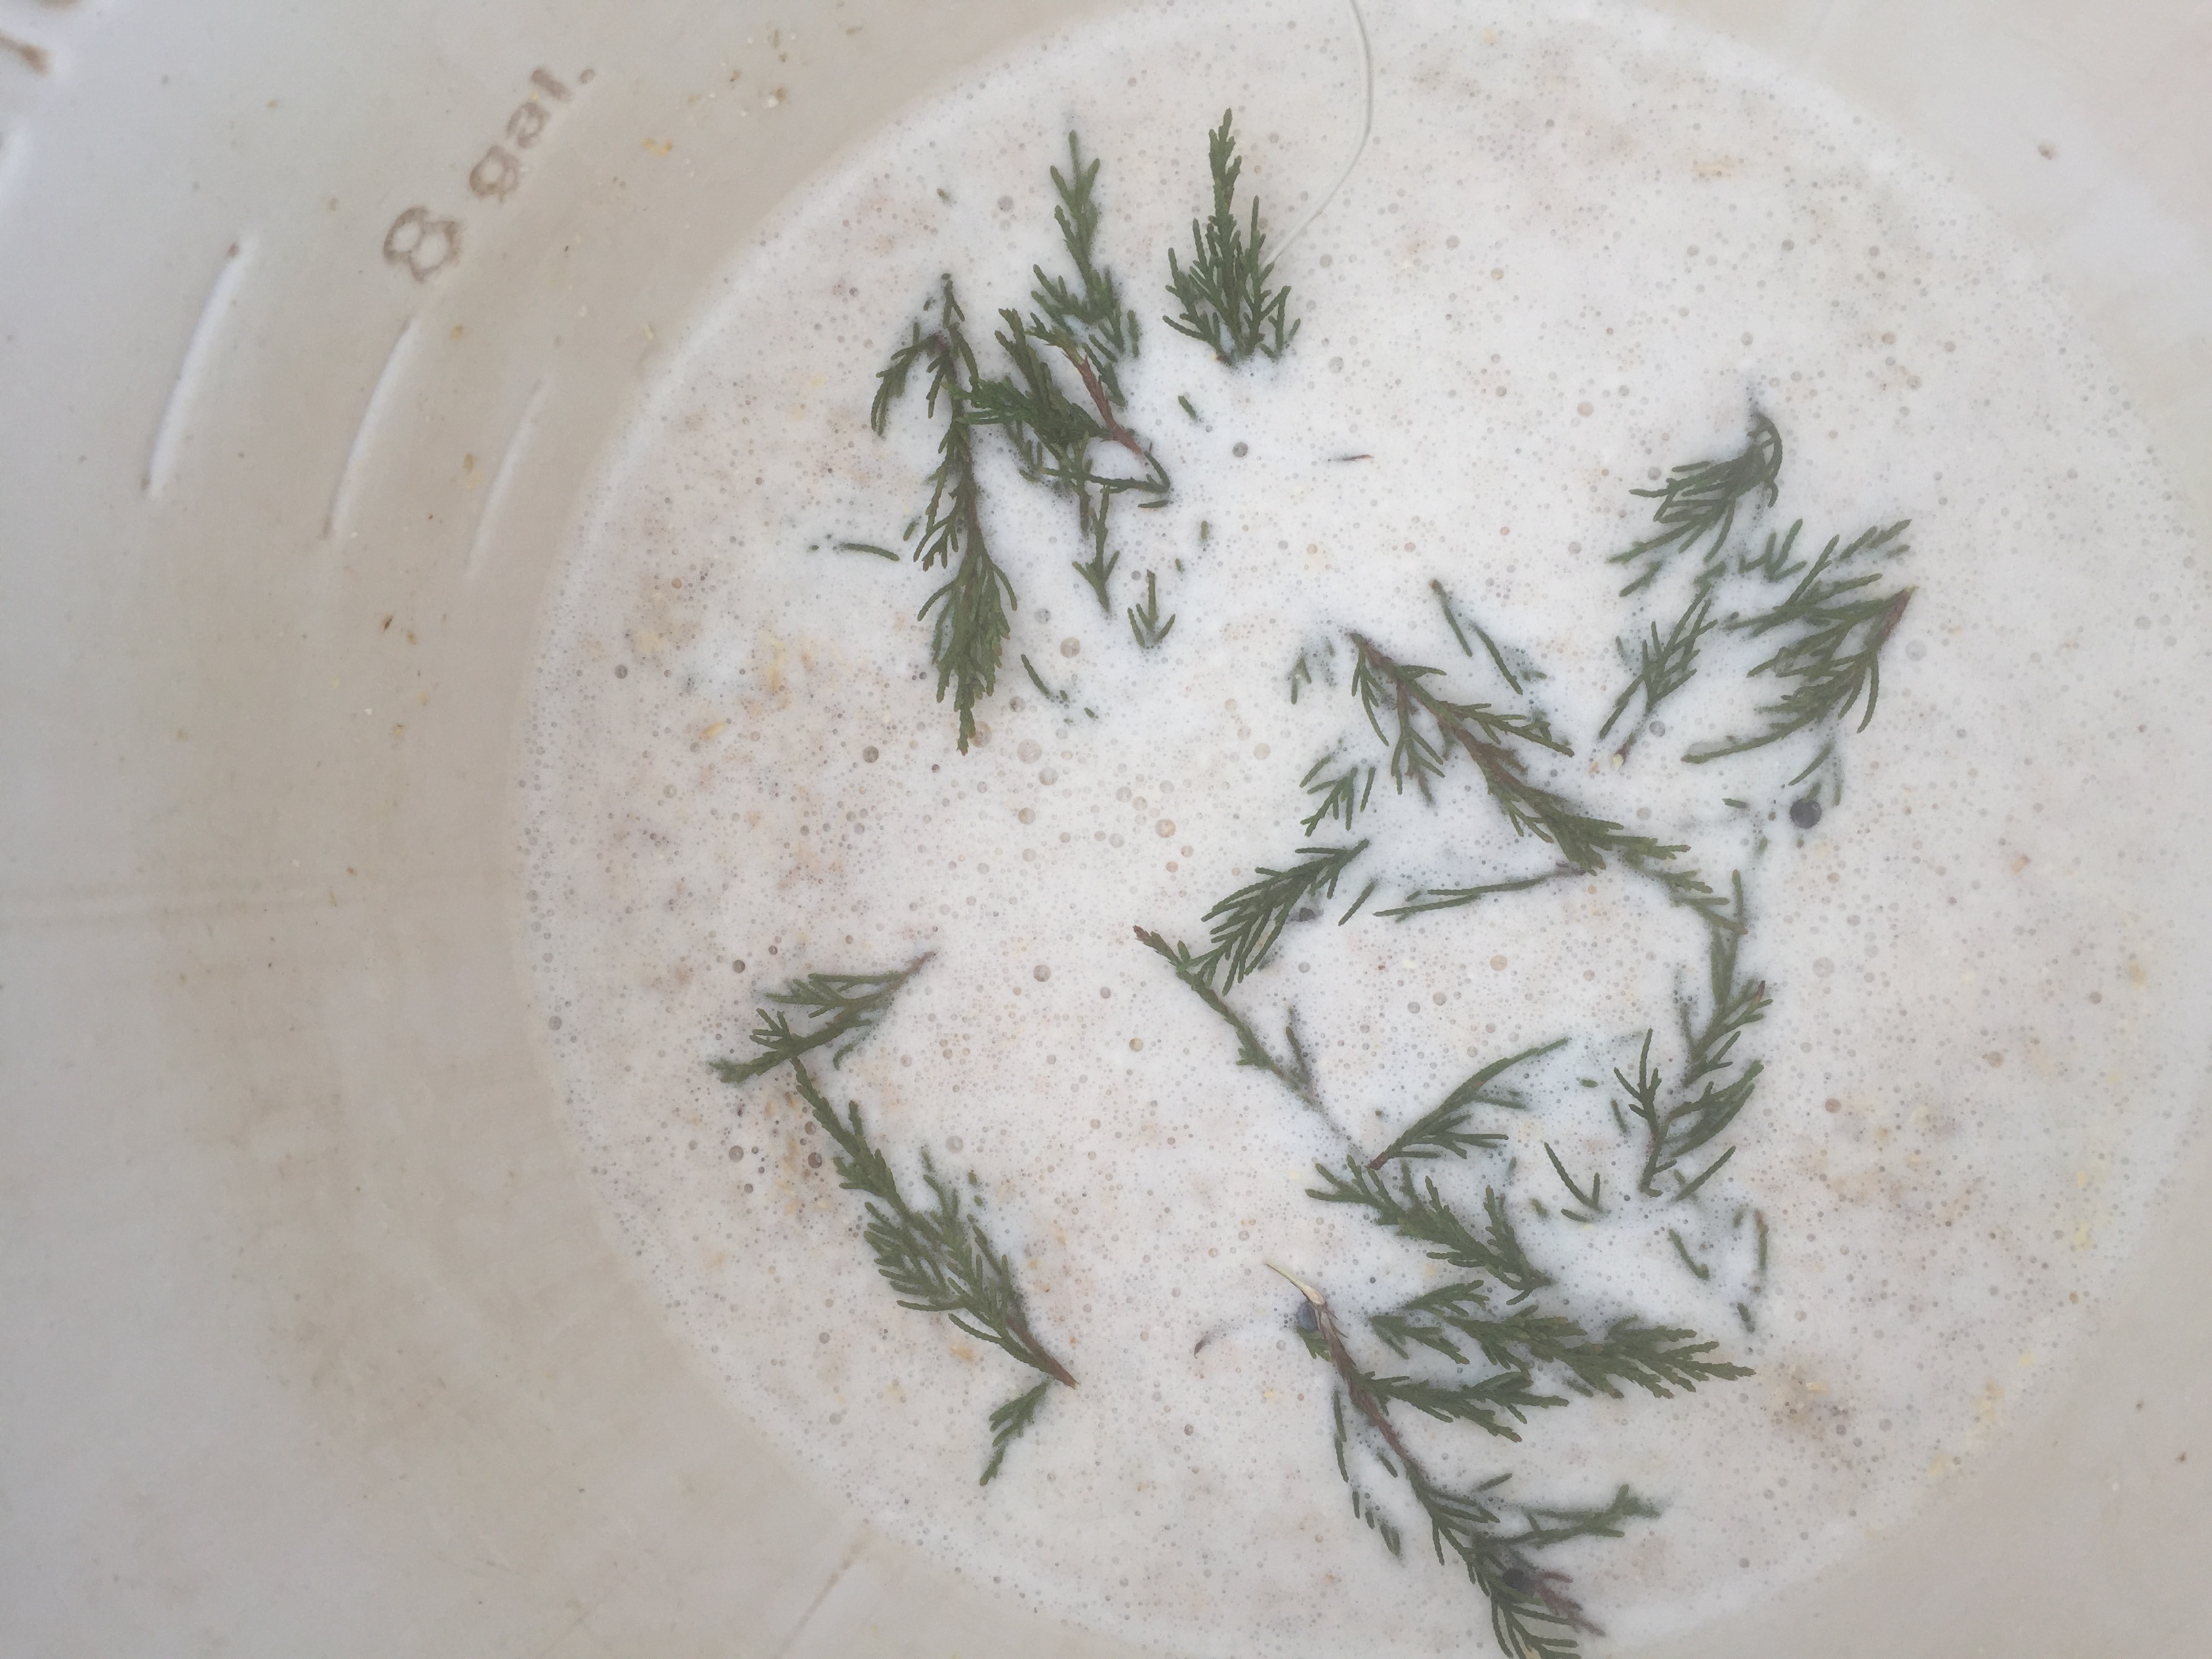
After mixing in the grains, I picked off about 3oz of cedar tips and threw them into the mash and stirred them in. If
you think a normal mash smells great and the smell of cedar is pleasant to you, prepare for some pretty awesome mash
smells.
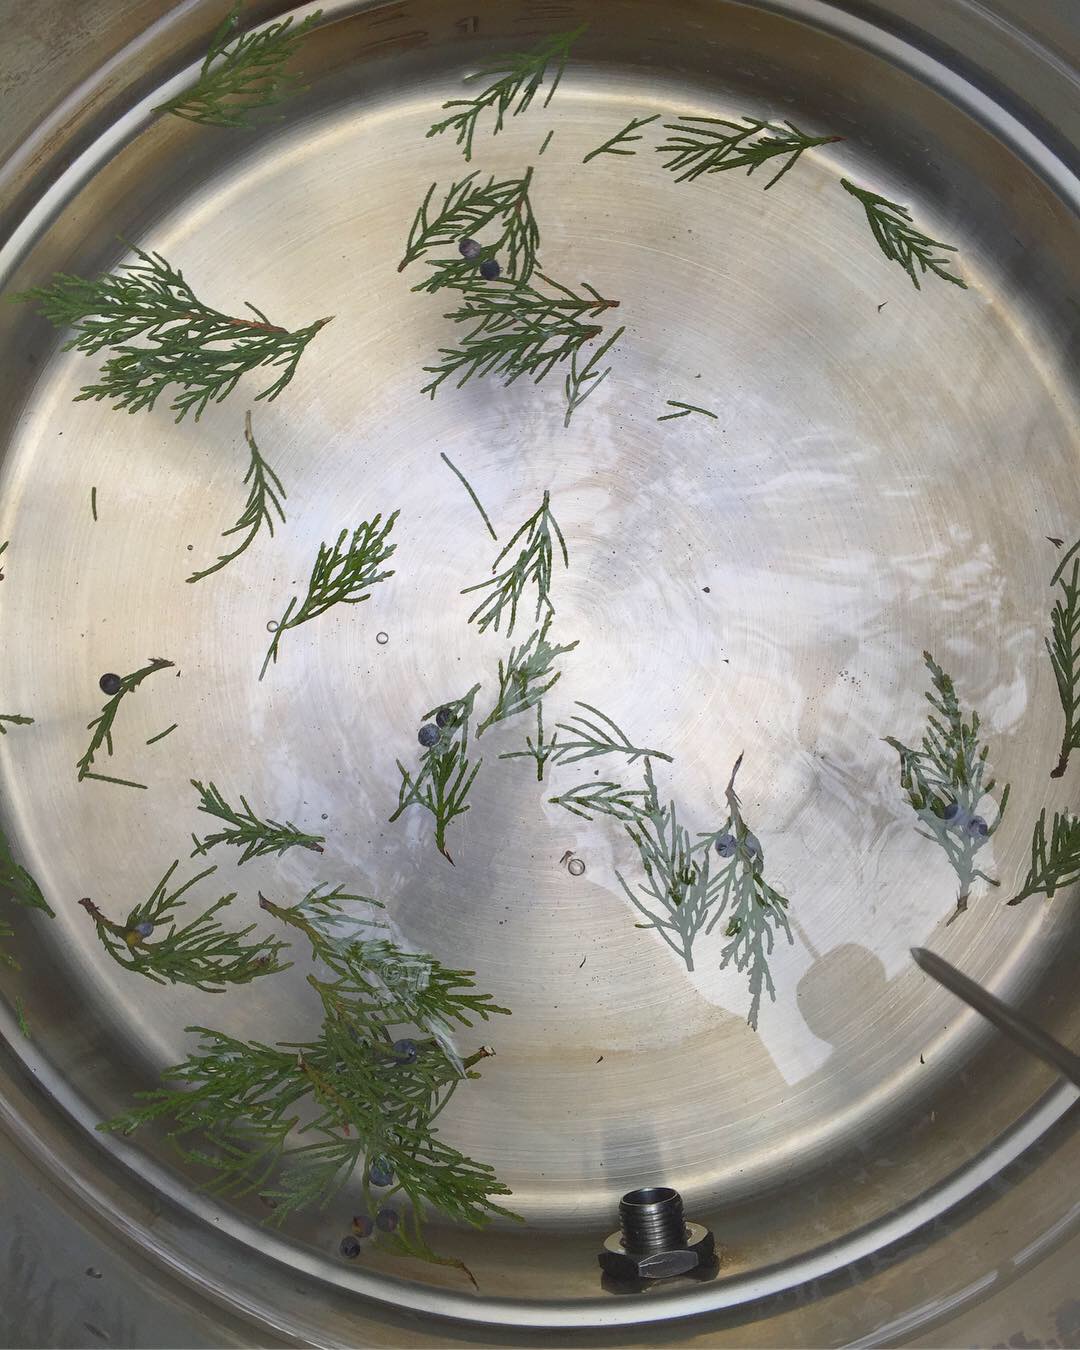
I let it mash for 1 hour and then prepared my sparge water while I waited. I heated my sparge water to 165F and added 3
more ounces of cedar tips into the water in order to infuse it with those great cedar flavors. Once the hour timer was
up, I ran out the wort from the tun into my boil kettle and batch sparged with the cedar water to my boil volume.
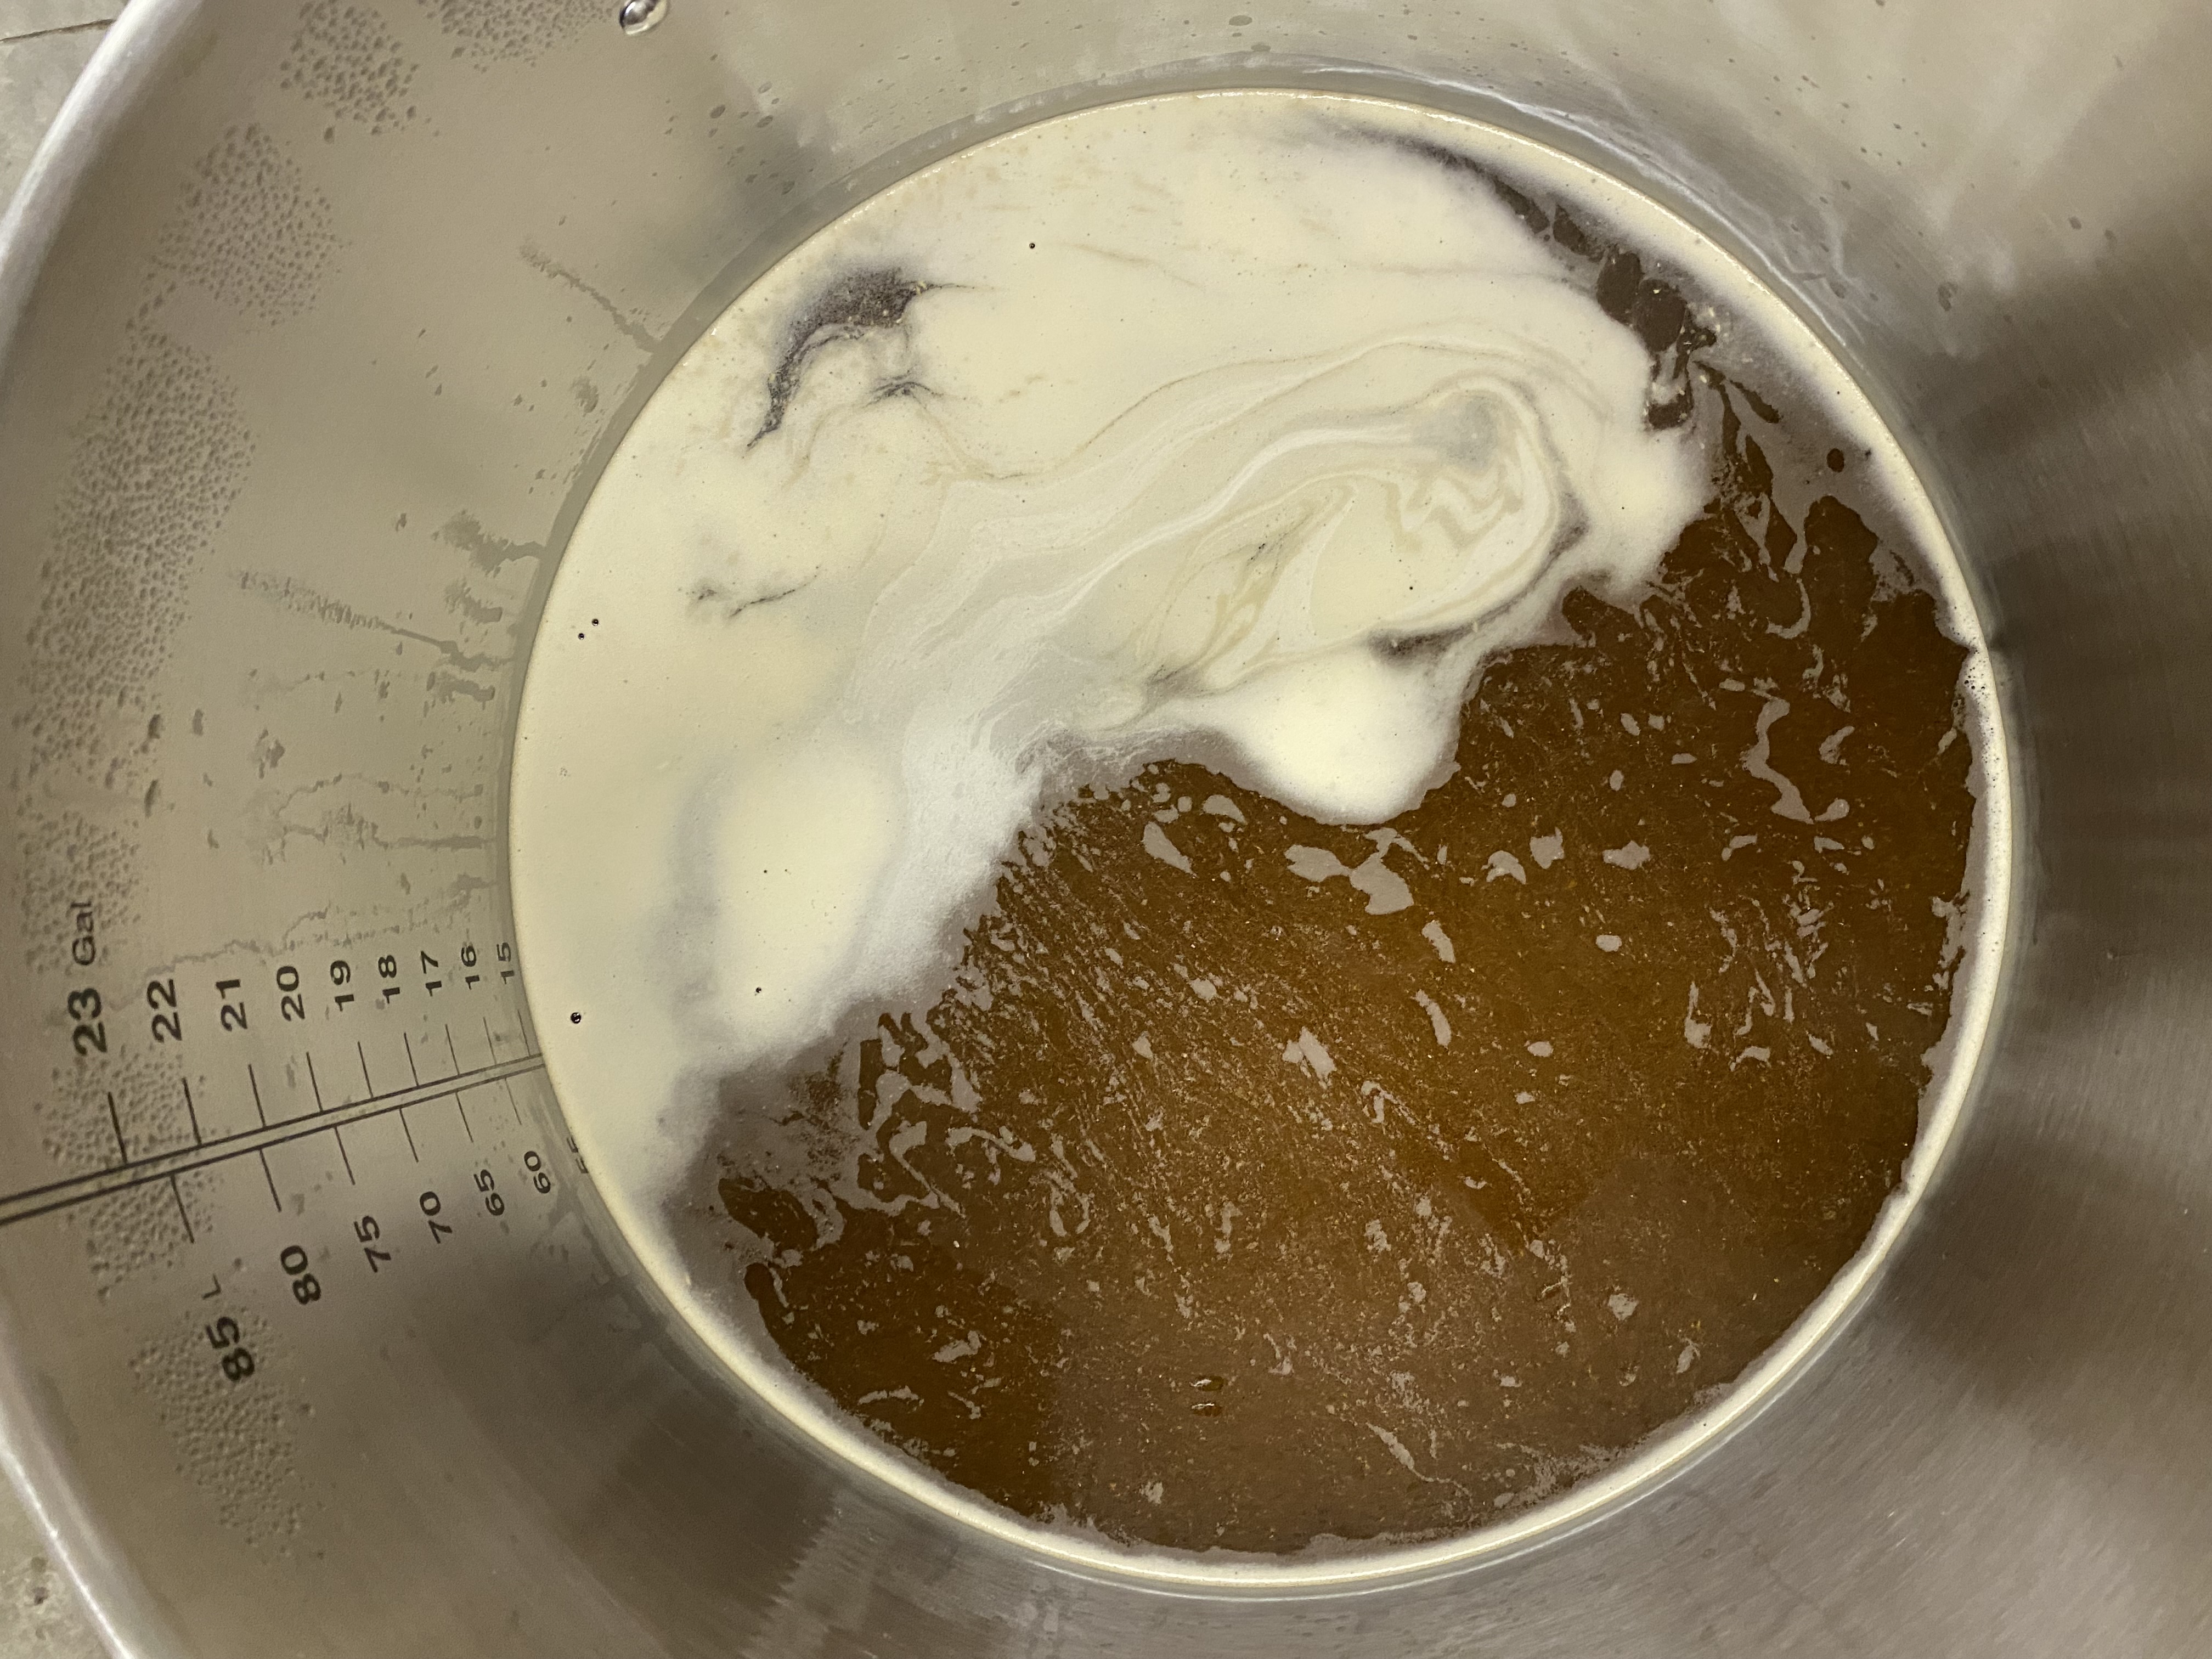
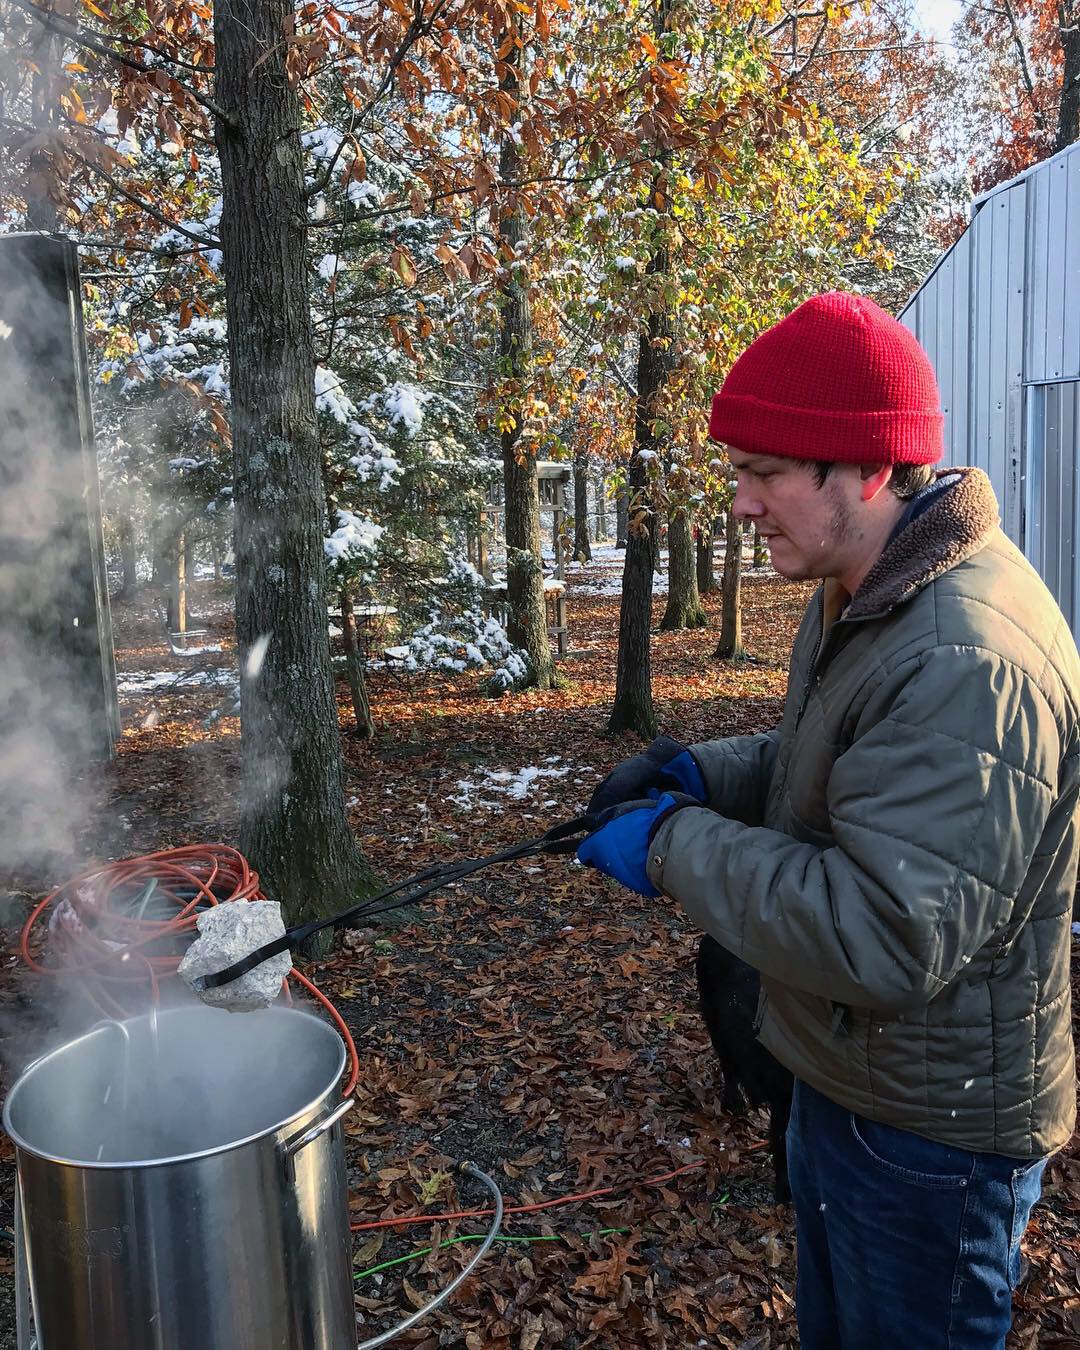
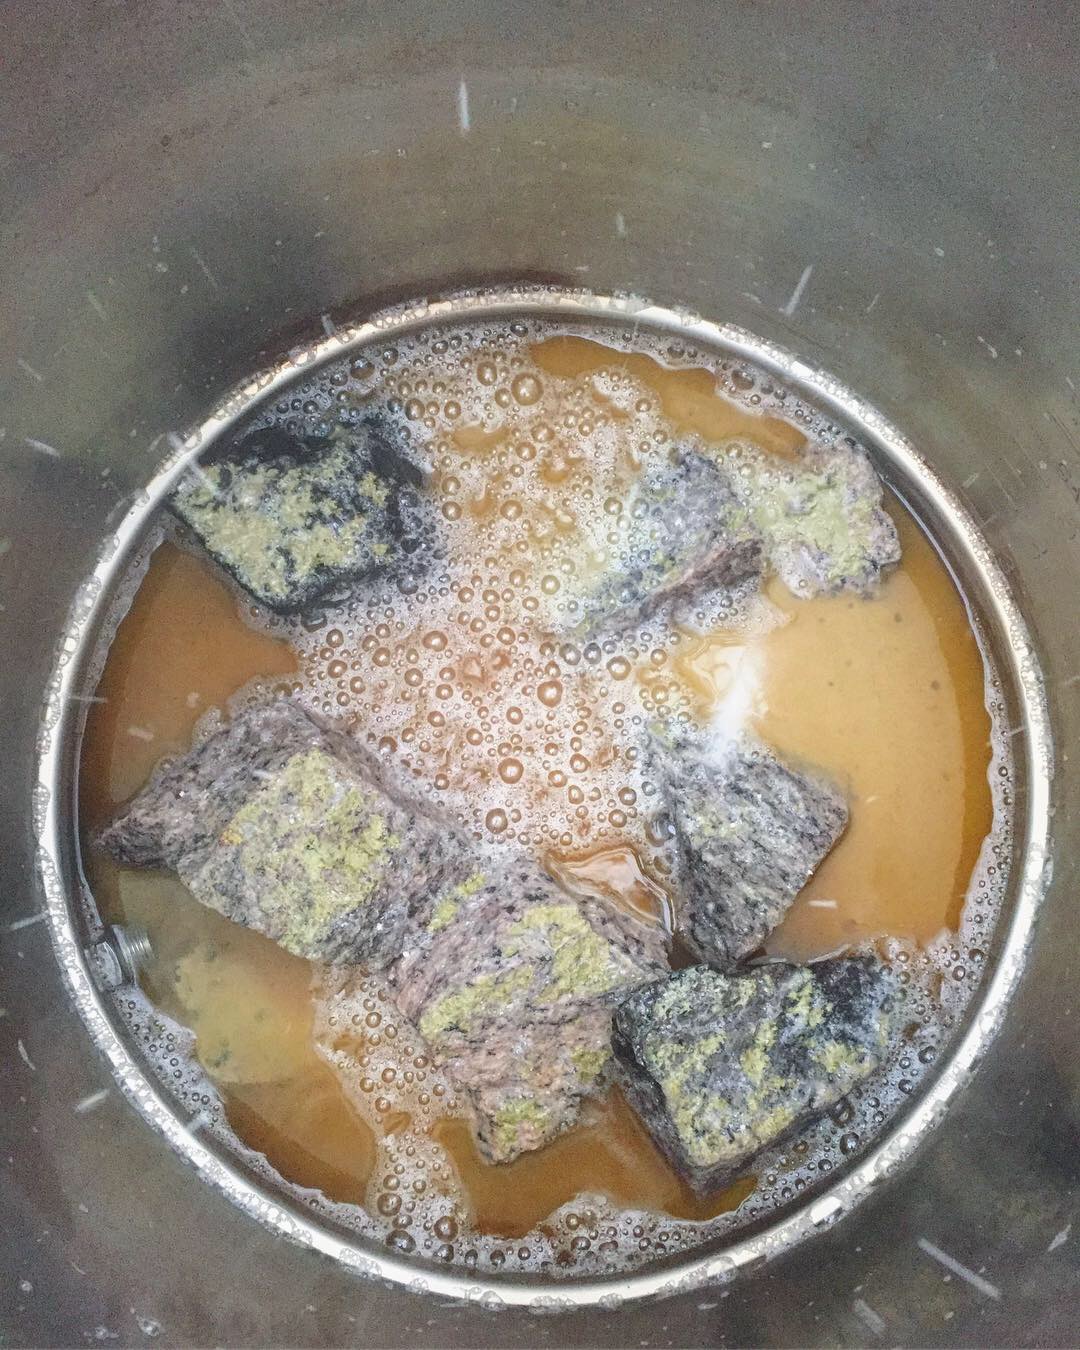
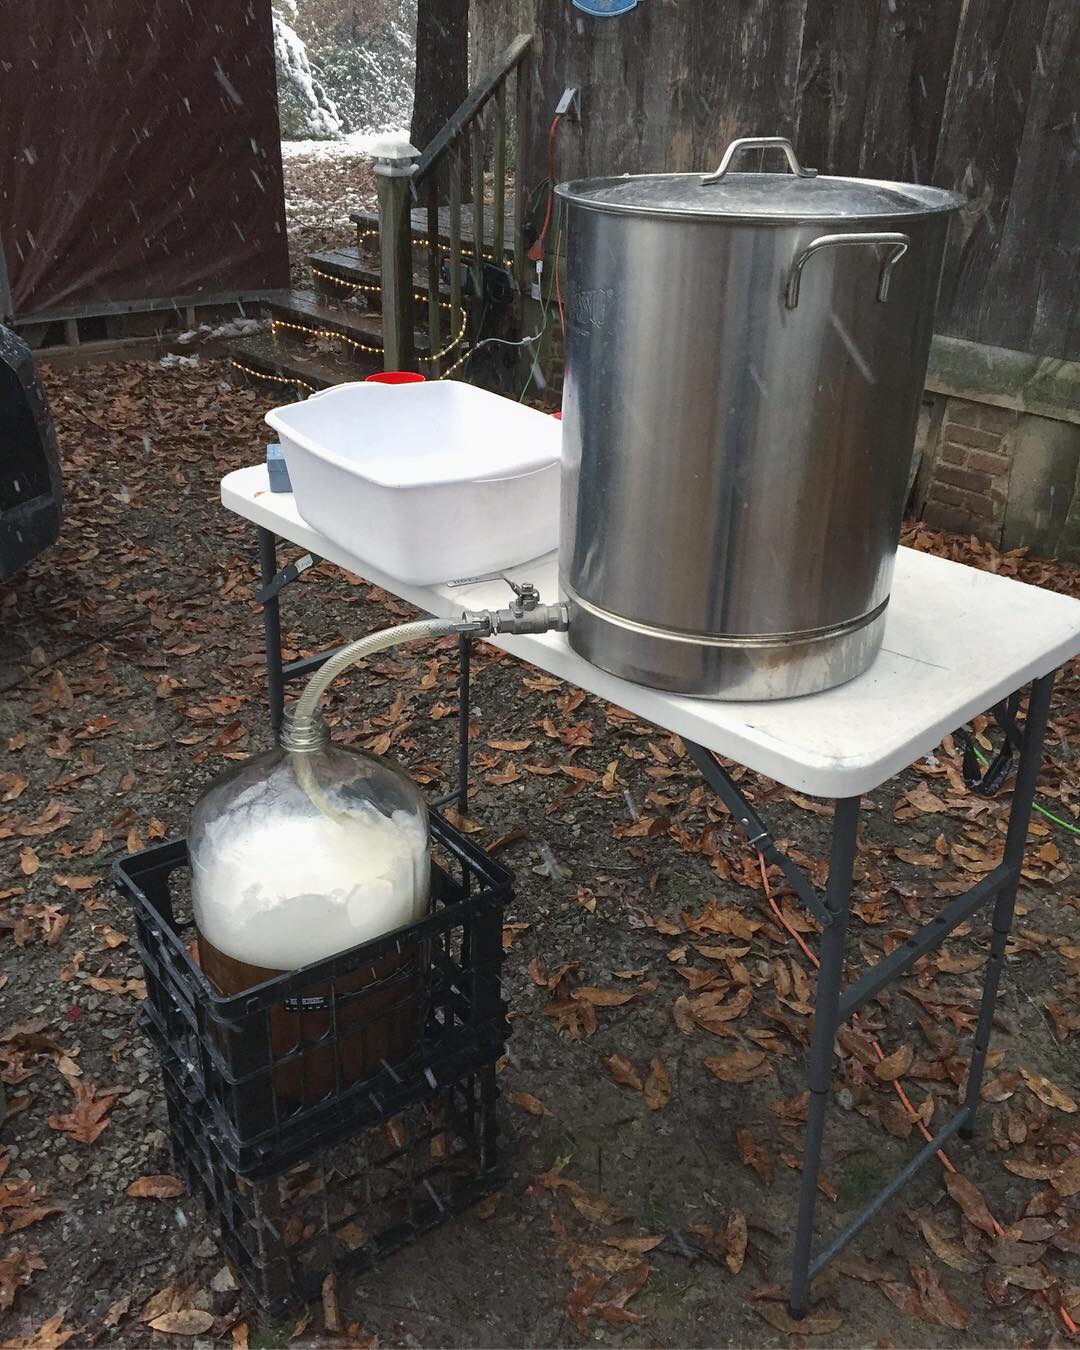
This is where the fun begins. Using the tongs, grab a couple stones from the fire, one at a time, and place them in the
kettle. Be careful to avoid splashing. Depending on the temperature of the wort, it may take a couple stones to get the
wort to boil. Once it does get to a boil, it will boil vigorously. Add a stone about every 10min or whenever you notice
the surface of the wort stop to boil. Add your hop additions at their indicated times and enjoy the process. Chill down
to pitching temps and then transfer to your fermenter. Pitch your yeast and let it ferment out for 10 days. If you use
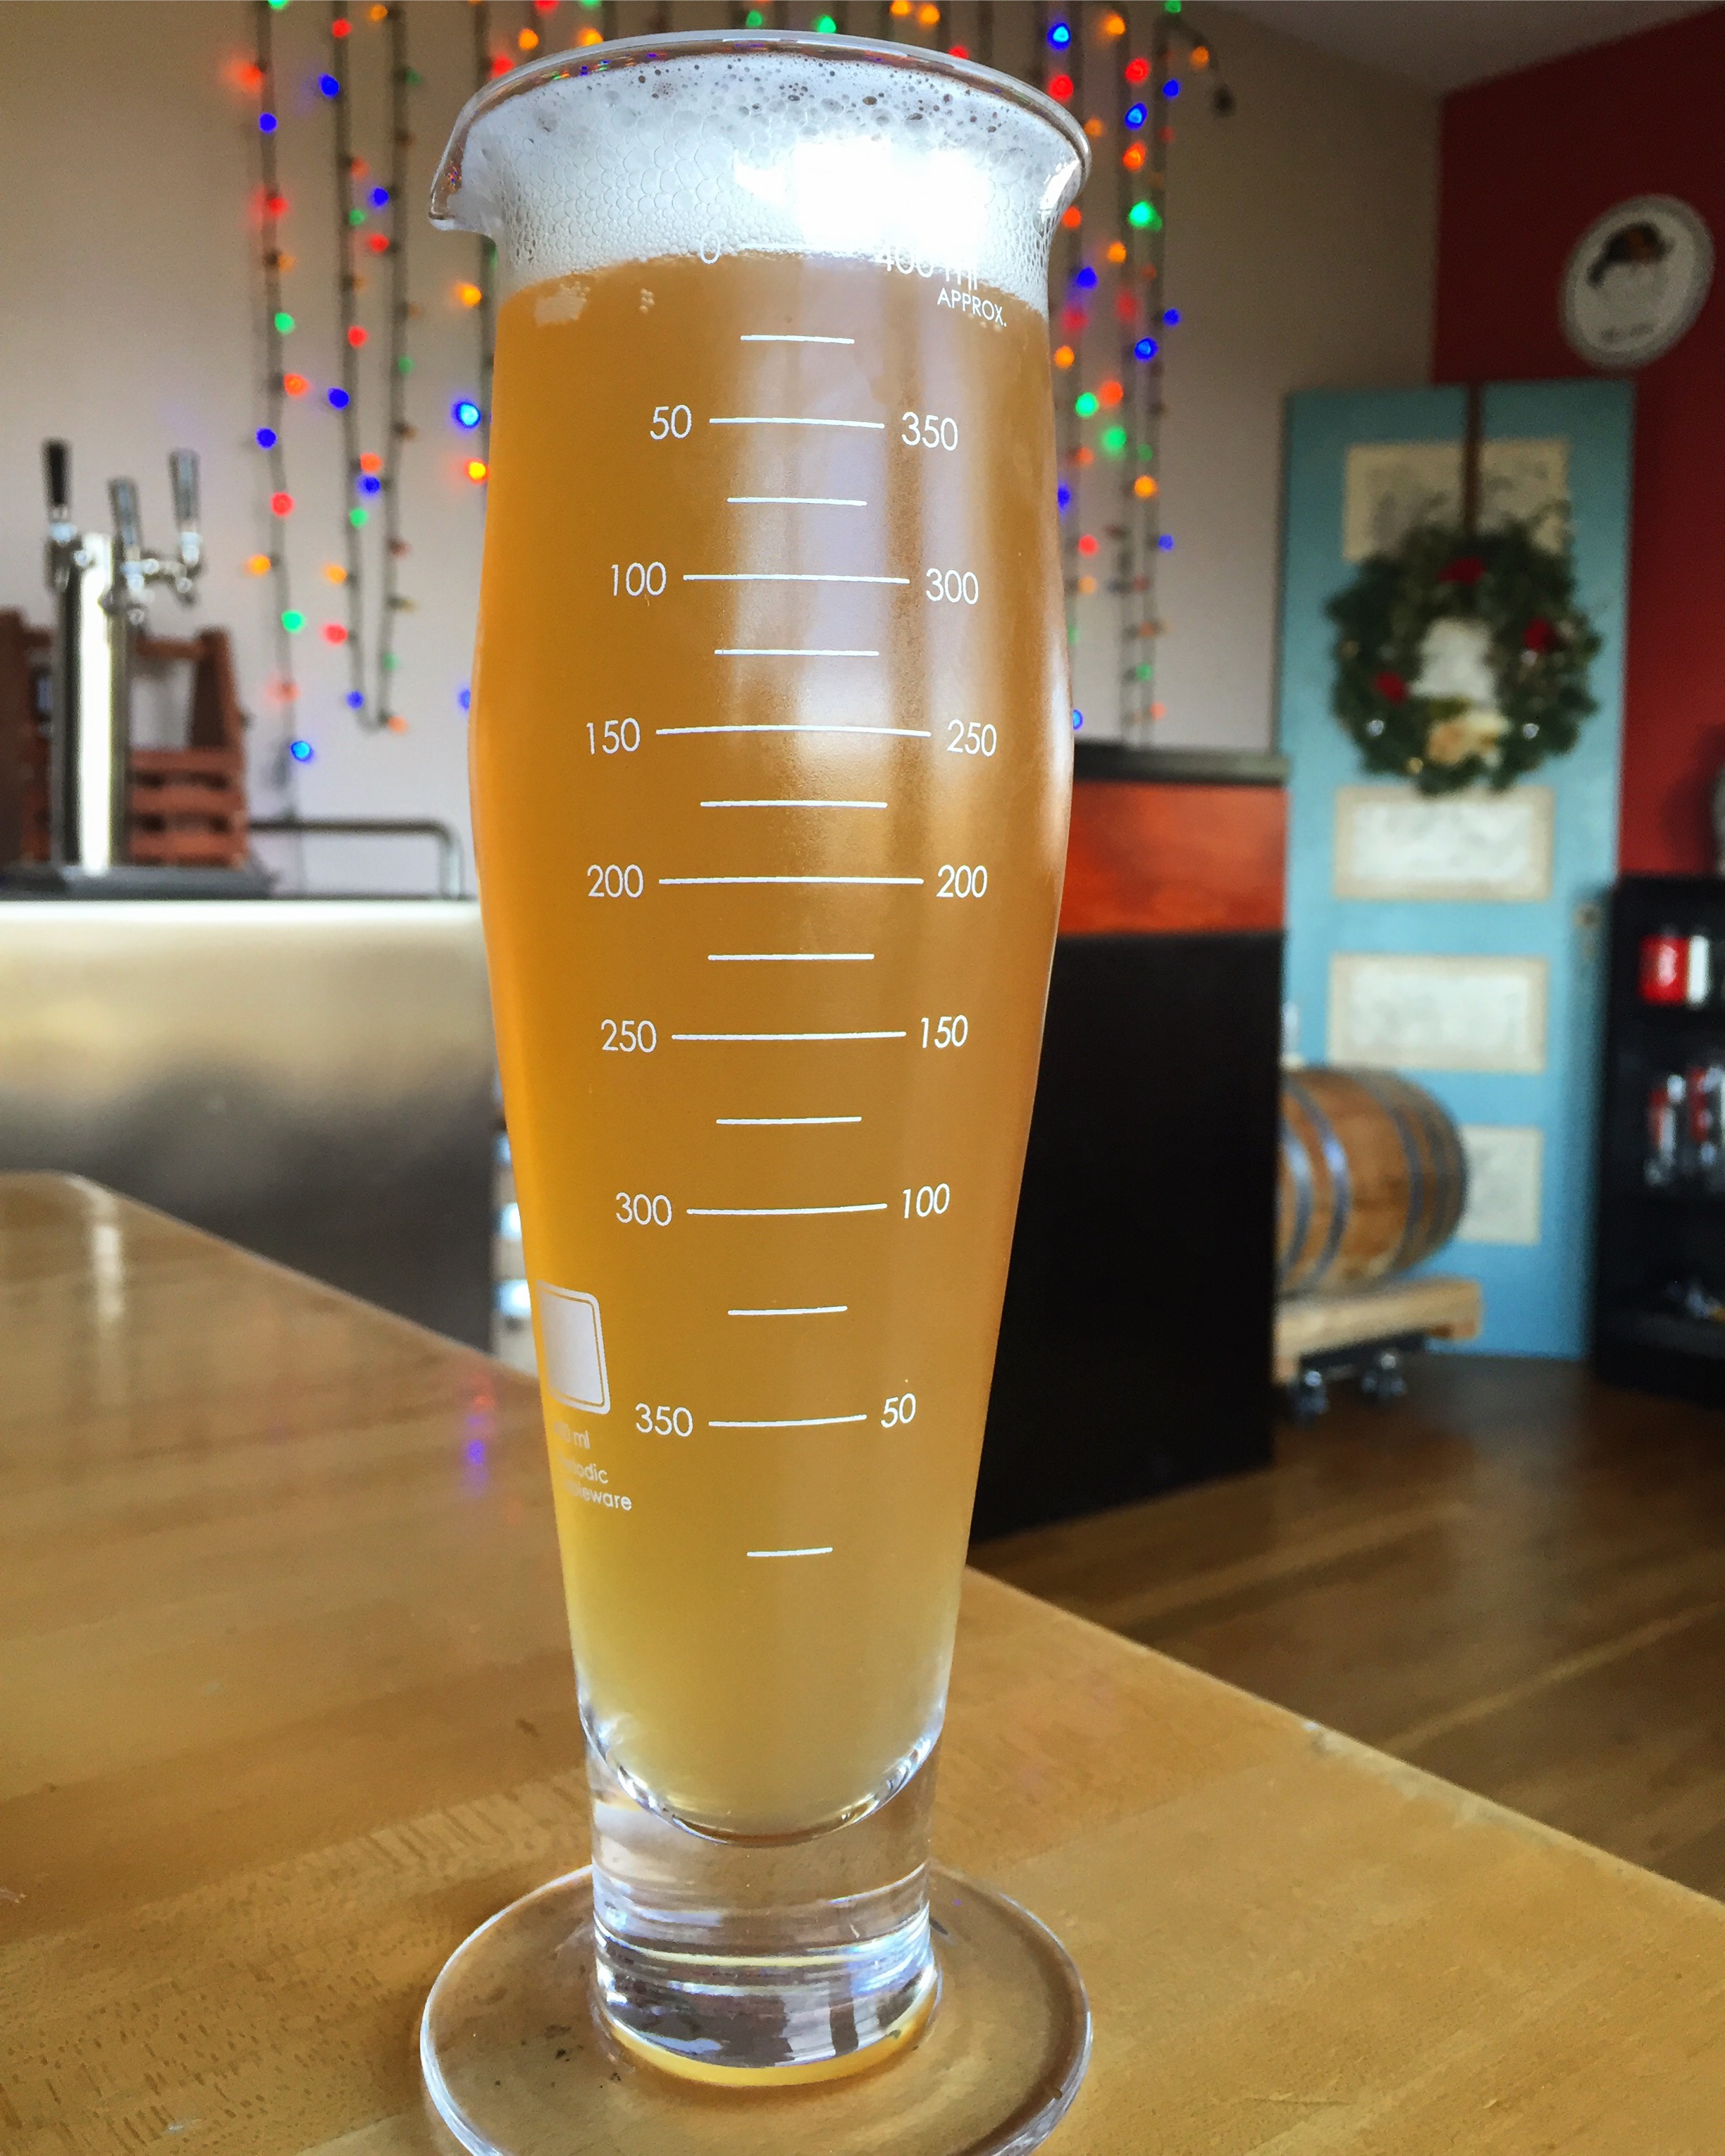
the Omega HotHead, make sure to let it ramp up to around 80f at least to ensure full attenuation. Bottle or keg the beer
and enjoy once it has carbed up!
Homebrewing a Steinbier
http://fullstackbrewing.com/2019/01/15/Homebrewing-A-Steinbier/