Mash Tun Overhaul
I Outgrew the Cooler
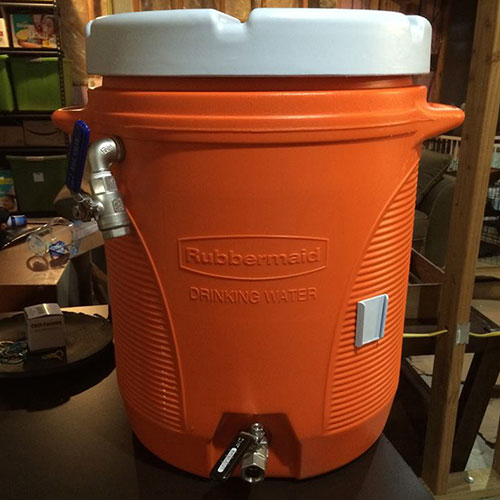
Like a lot that move to all grain, you start out with a 10 gallon water cooler. They work exceptionally well, holding a temp with only a 1°F drop over the course of an hour (on a really cold day). But, I wanted to make some bigger beers. At most, the cooler could hold about 12kg of malt @ 2.5L/KG of water.
So Where to Go Next?
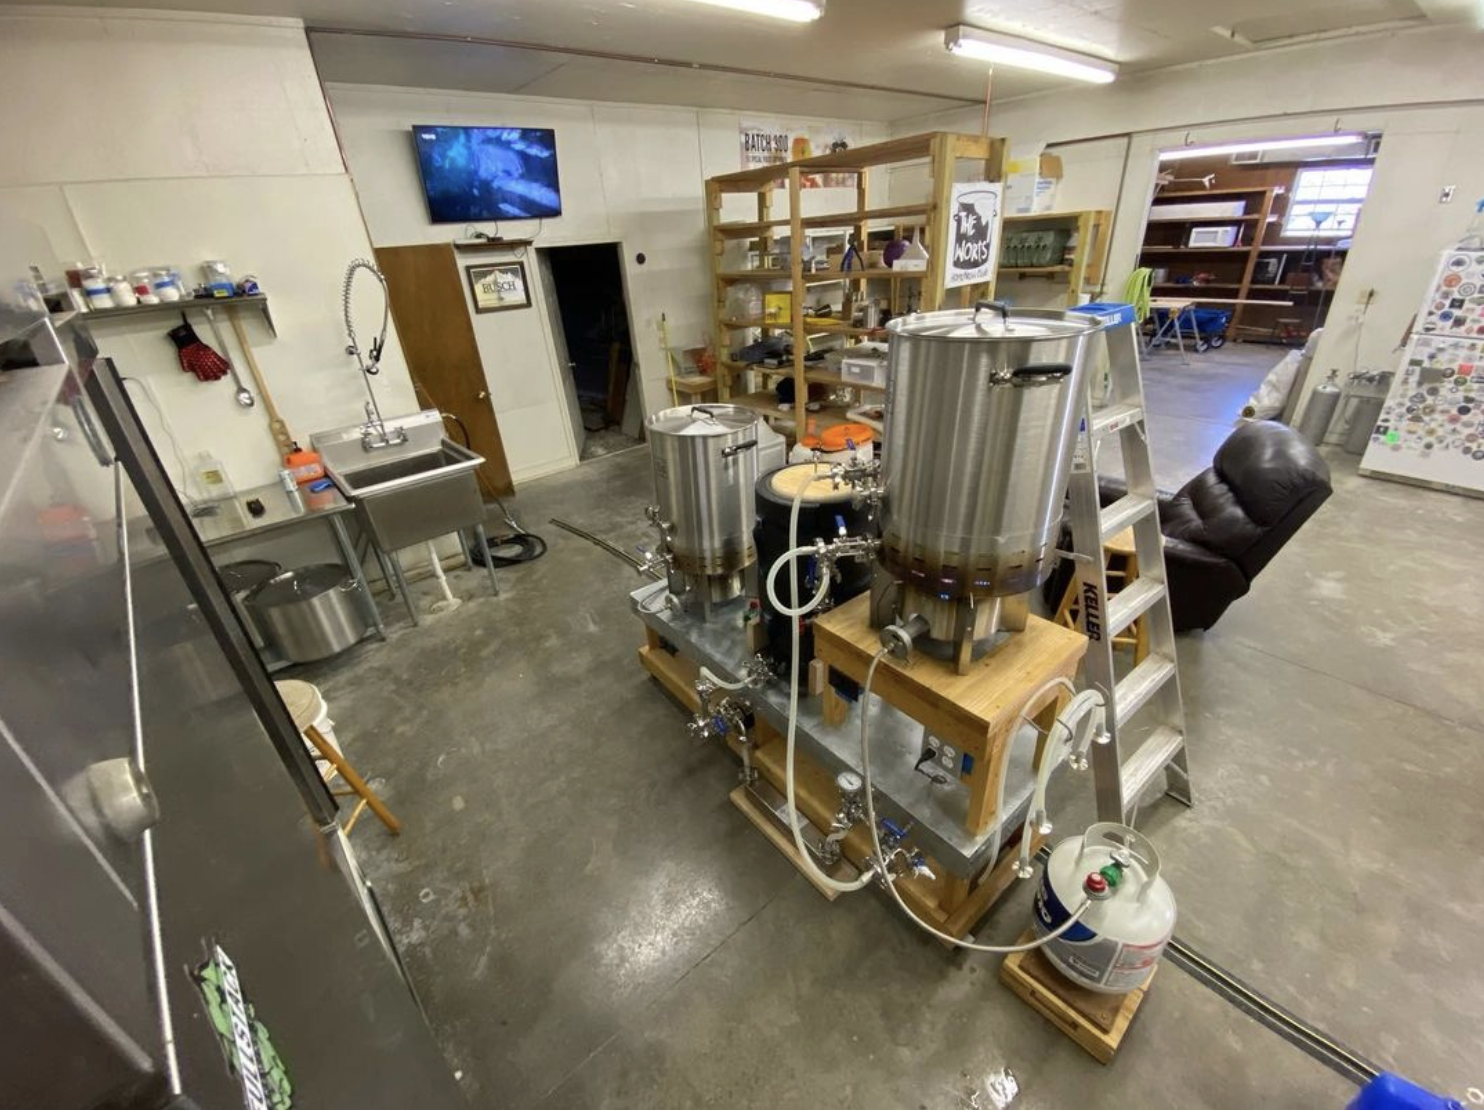
The obvious step is to move up in size, however thats easier said than done. If you want to keep from moving to a RIMS or HERMS system, and use a single infusion mash, your options are kind of limited. One, you can move to a larger square cooler. This would work great, but depending on your workflow it might not work. Another option is moving to a keg. Which is what I chose.
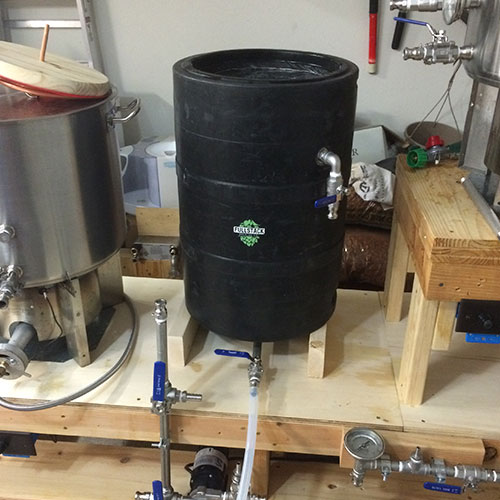
The Keg
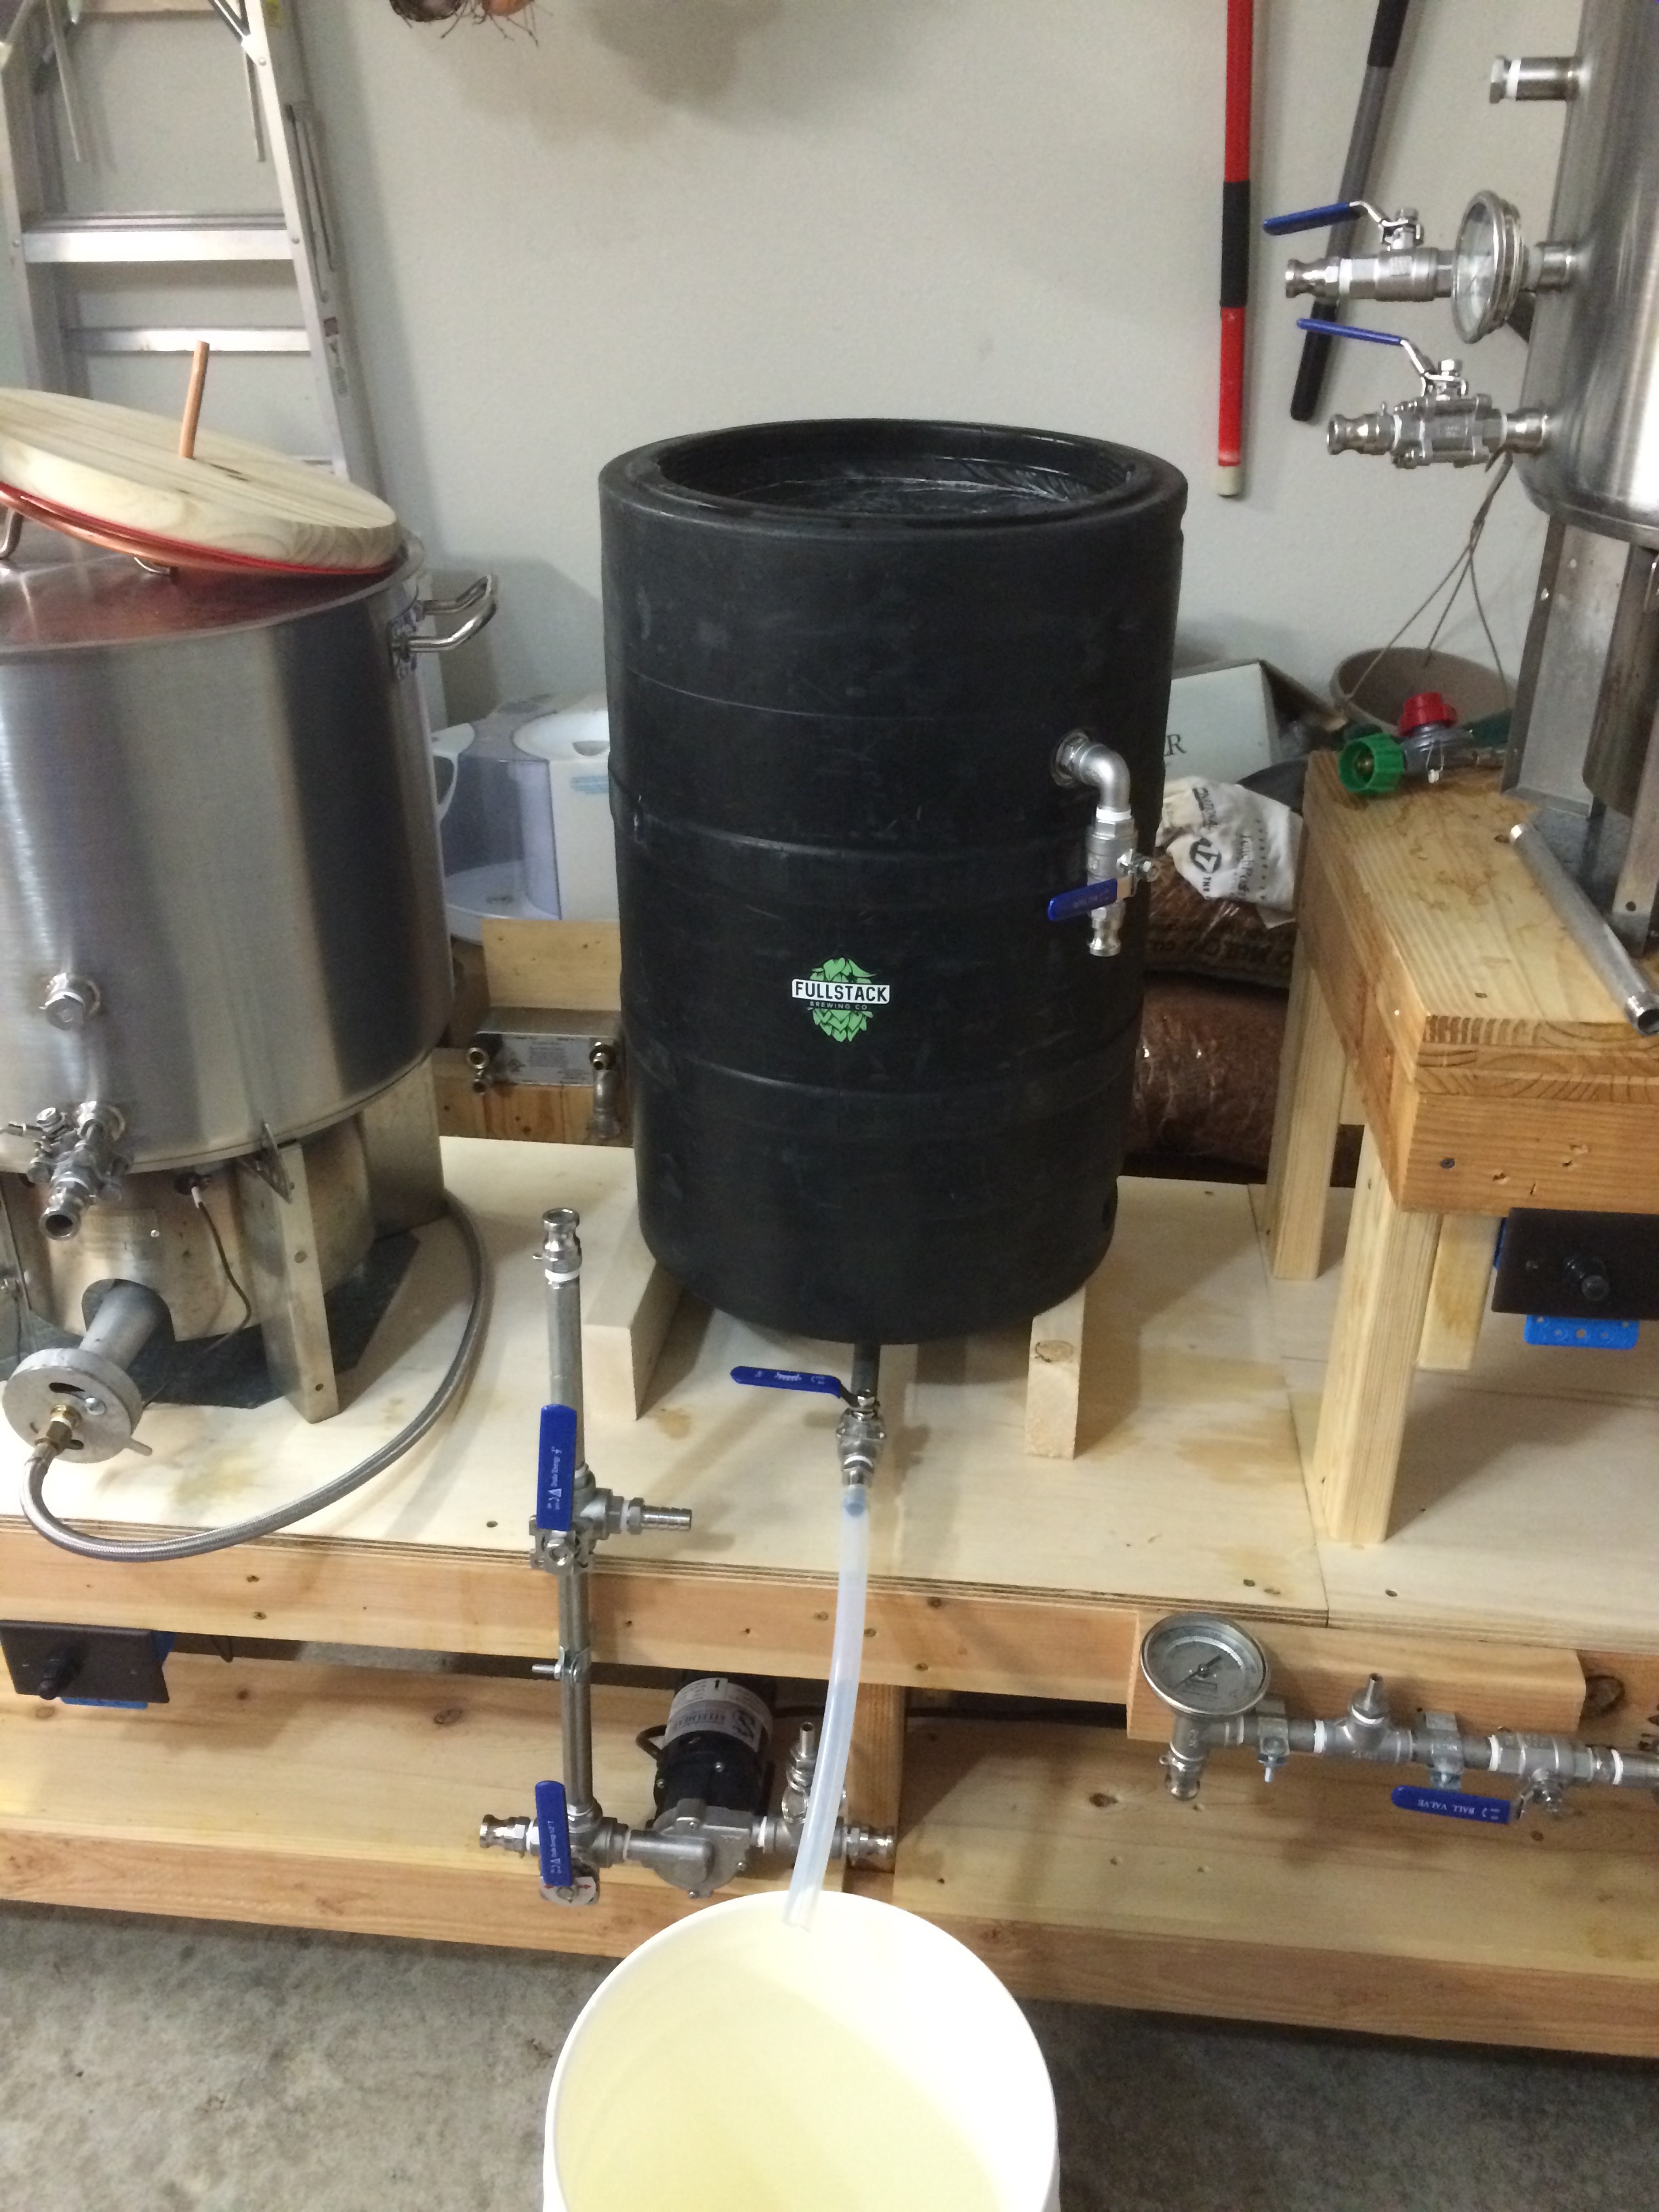
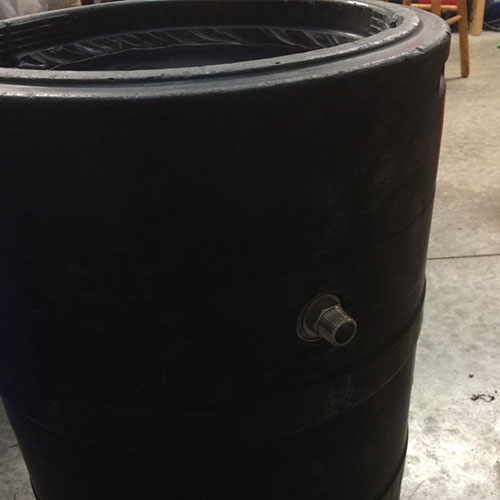
I ended up finding a rubberized 15.5 gallon keg. I specifically wanted a rubber one hoping it would have some kind of insulative properties (more on that, and lack thereof later).

Top or Bottom?
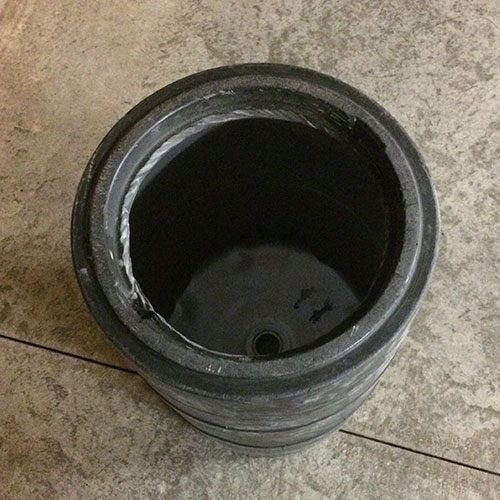
The first decision was where to make the first cut. Traditionally most seem to punch a hole in the side and run a line to a domed false bottom. However, after stumbling across the blog post from Buttcrack Brewery I decided to cut the bottom and flip the keg over. This would allow me to attach a 2” TC Clamp to the keg opening after the stem was removed. I saw this as having two main benefits:
One: less hardware and connections to deal with. I am of a philosophy of less stuff will result in less issues down the road. Having multiple threads and connections could possibly result in more.
Two: 0 deadspace. Running through the original opening of the keg will bring all of the wort to a central location. Dumping from the bottom-most spot of the keg will reduce the amount of waste you can have.
Lets Cut!
First, drill a pilot hole in the center of the bottom. You will use this as a pivot point to draw your guide to cut on. I drew a line around about an inch away from the lip edge so I would be able to place a lid on top. Using an angle grinder with a stainless cutting wheel, take some small passes at the rubber exterior. Be sure to wear breathing protection. I didn’t and completely regret it. This rubbery dust goes everywhere.
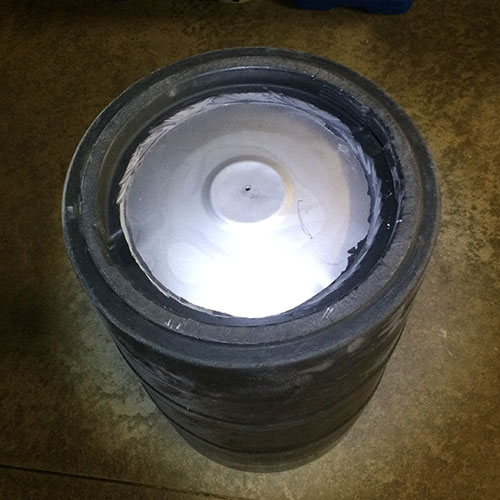
Next, we move on to the fun part, grinding through stainless! Pretty straight forward, follow the same path as the removed rubber. Be sure to take small passes. Since you are grinding in a circle you don’t want to try and bend the grinding wheel, they are not flexible and grinder shrapnel sucks.
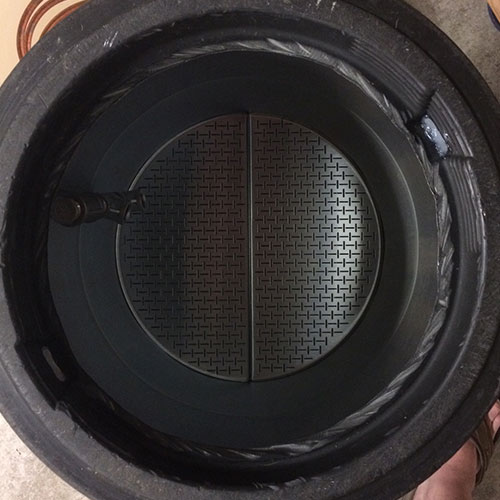
Going to Need a Lid.
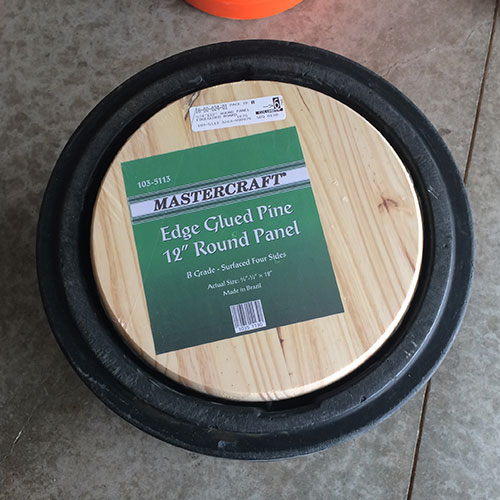
Originally I had planned to cut a lid out of a 12”x12” board. Somehow I was thinking I would use a skill saw to cut a perfect 12” circle from the center and it would fit nicely. As I was browsing the wood section at the hardware stare, I came upon a 12” barstool top. It was perfect! Dense, 12” perfect circle, and under $3!
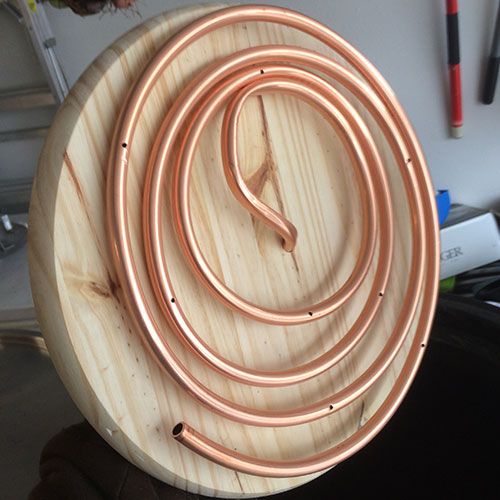
One of the features I needed in a lid with my setup was to be able to setup a sparge arm. Simple enough, get a 3/8” copper coil from your local hardware store. Wrap it, drill it and you’re all set.
Now, I know what your thinking. Wood isn’t a good choice, thats going to absorb a bunch of water and get skanky. But wait! Theres a solution to this. Wrap that sucka in silicone!
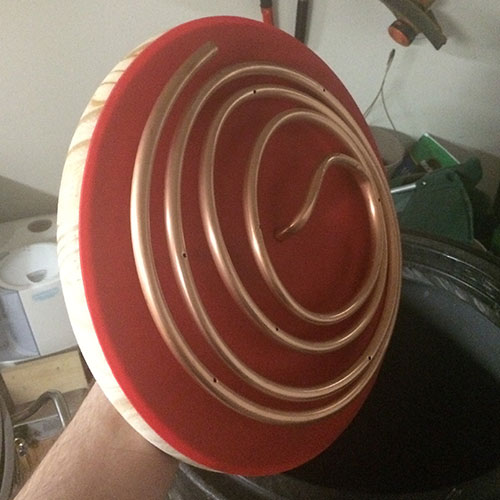
We are also going to need to make a seal around the edge. What I ended up using was 1/2” ID Silicone Tubing cut long ways. Wrapped that around the edge of the lid and adhered with liquid silicone. For my application I needed to do this twice to get enough thickness to meet the outside edge of the keg and to form a proper seal.
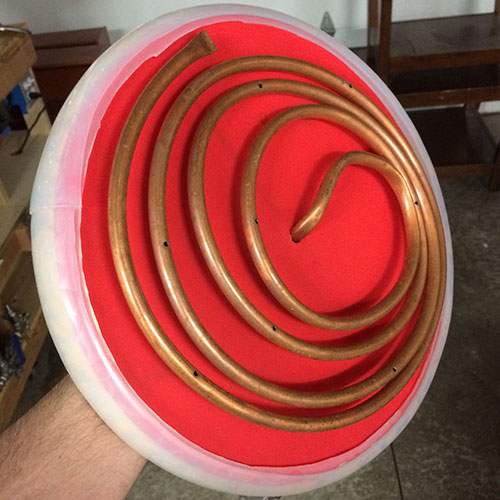
This ultimately covers the wooded surface area in silicone, increasing the lifetime of the lid. Will this lid last forever? Probably not. But on a homebrew scale, it’s put together cheaply enough that it can be replaced.
What about the vorlauf?
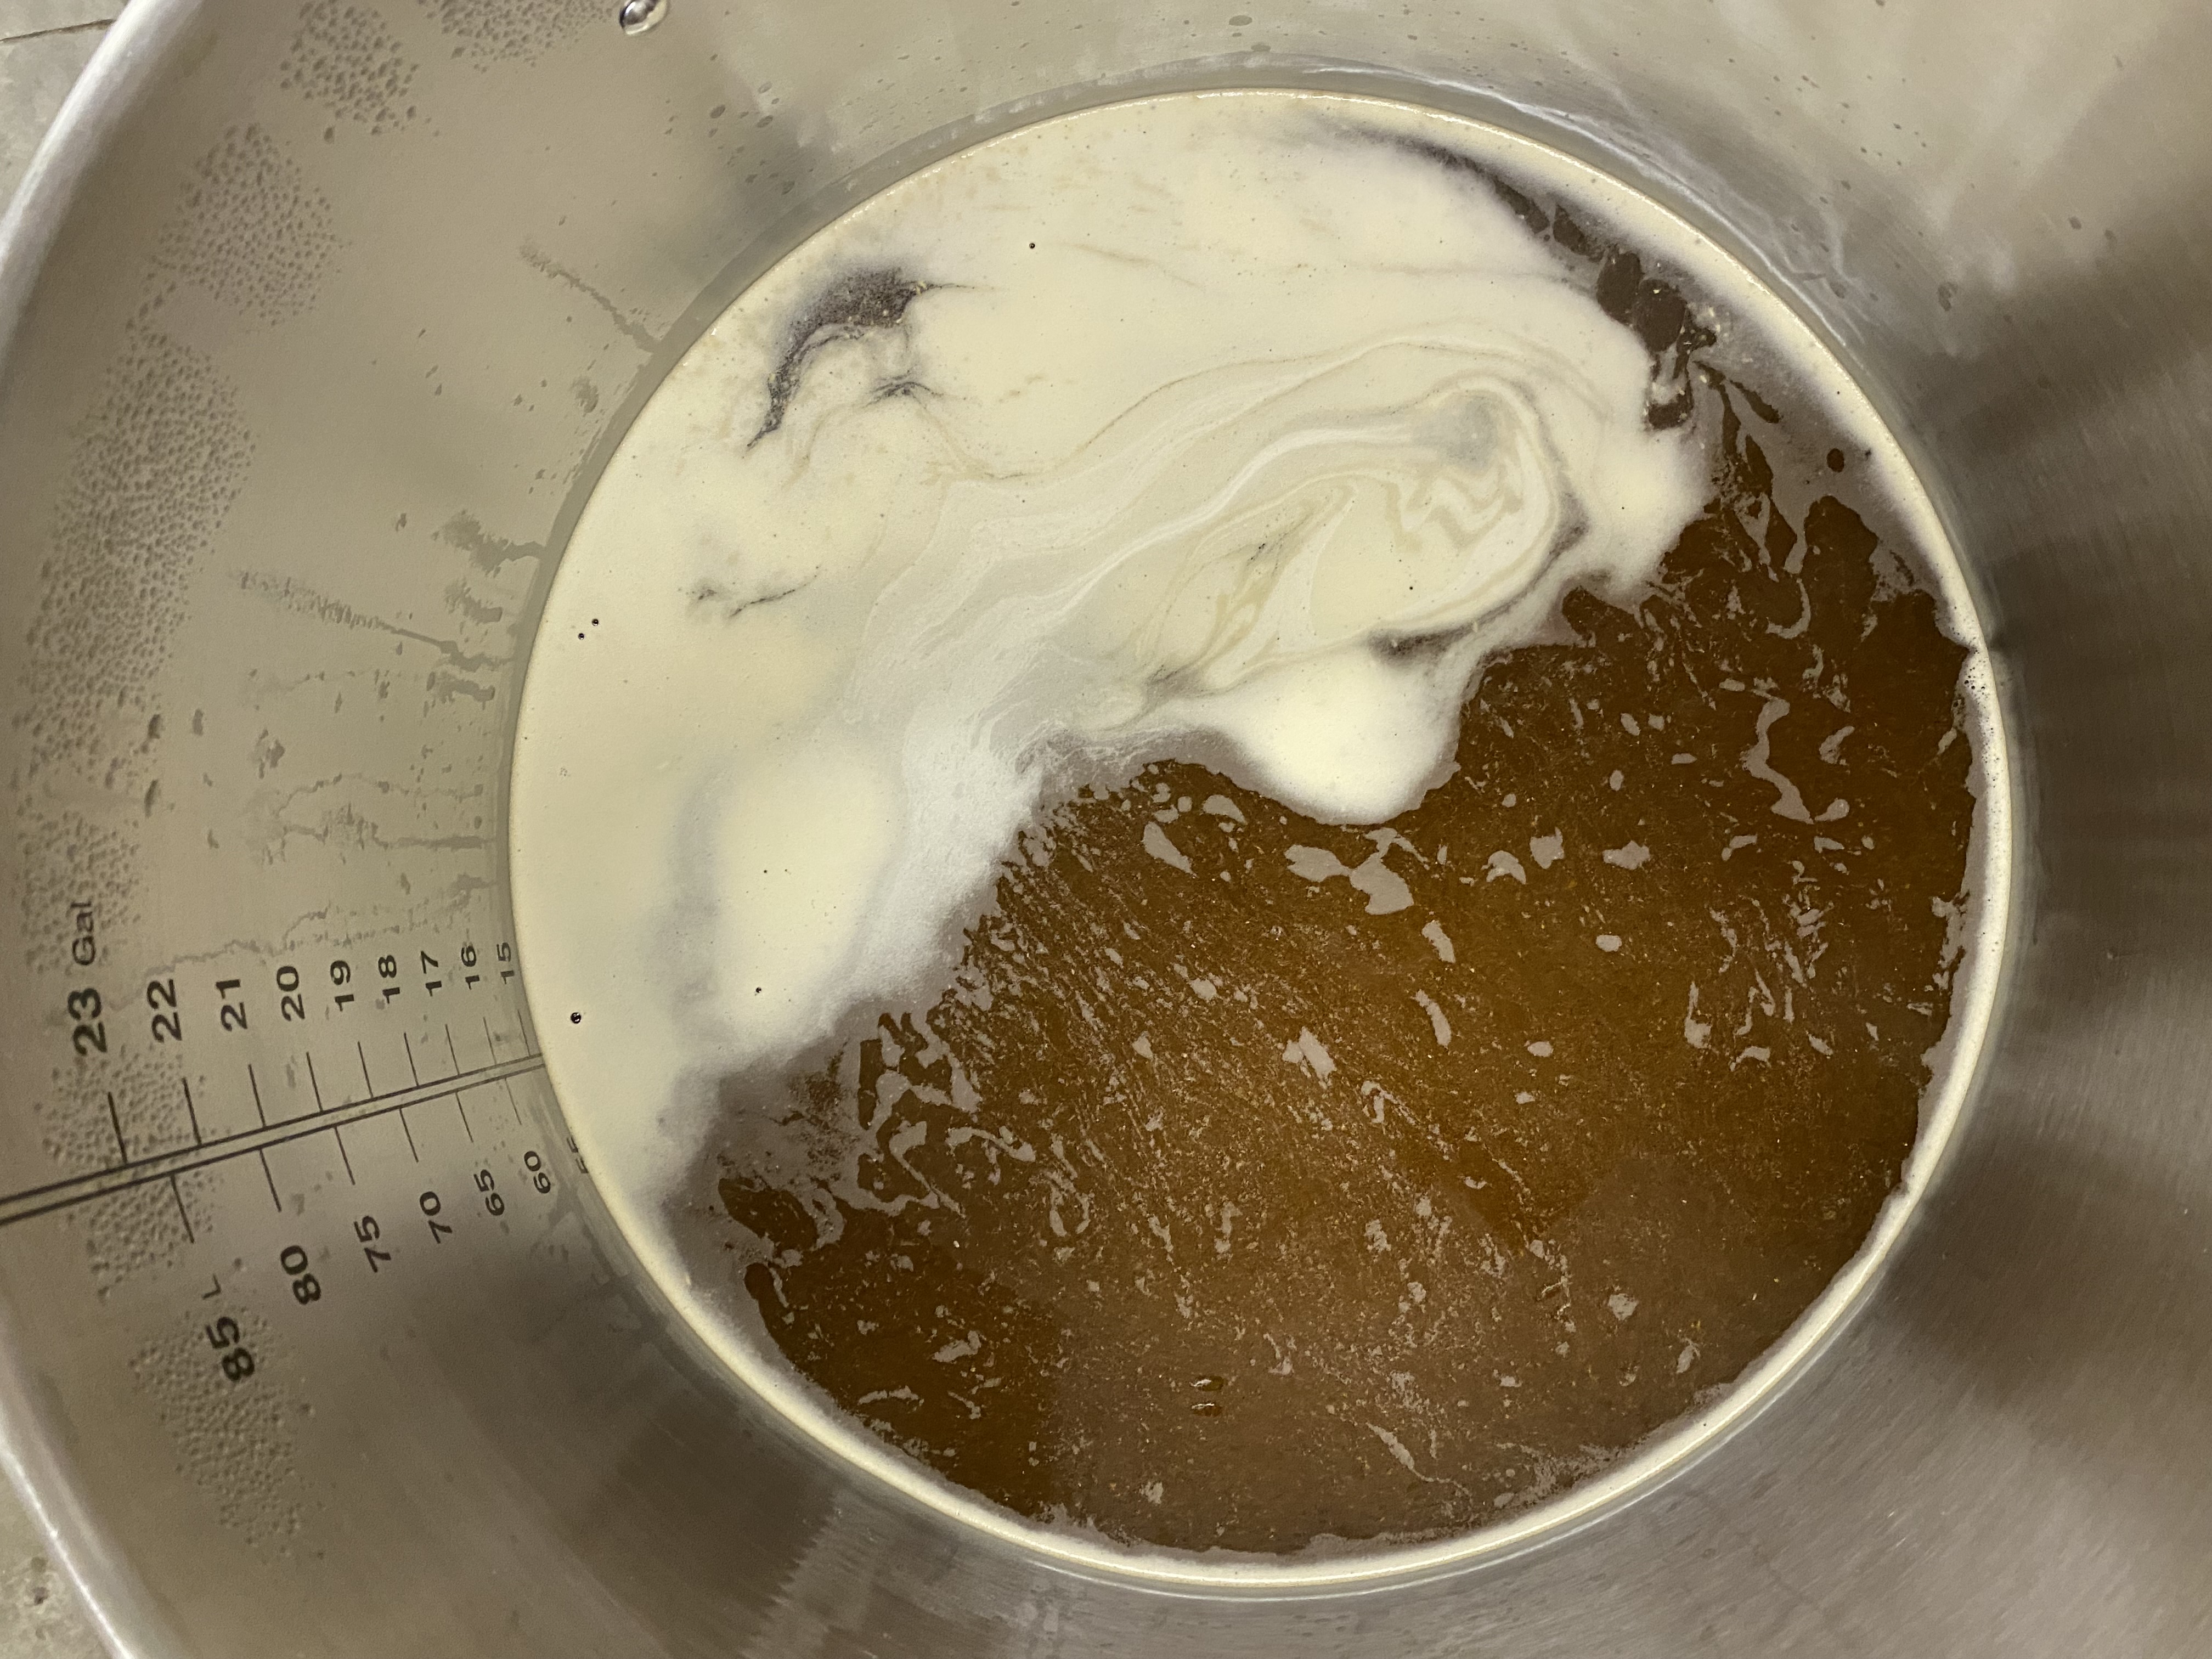
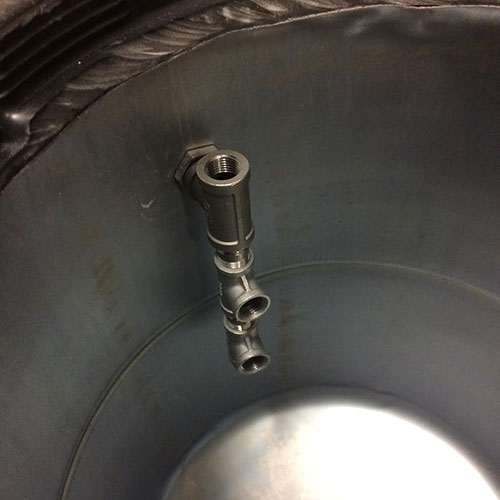
Having a return port on your tun is incredibly useful. When I first started out, like most, I vorlaufed with a pitcher. Filling it up, pouring it slowly into the top. Rinse, lather, repeat. I found it tiresome and a part of the brewing process I did not enjoy. With the help of a pump and a grant, it made things a lot easier. To control the flow-rate I added in a bulkhead with a ball valve. Now I can let the pump do all the heavy lifting for me!

One issue with having a fixed return port is grain bed height. If you are doing a lighter beer with less grain, your bed is obviously going to be lower. With that, your vorlauf return flow is going to fall much further and punch down through the grain bed, which isn’t ideal. The solution I came up with is a series of linked T-Fittings with a plug in the bottom. That way the direct flow won’t go straight down, but come out in stages.
The False Bottom
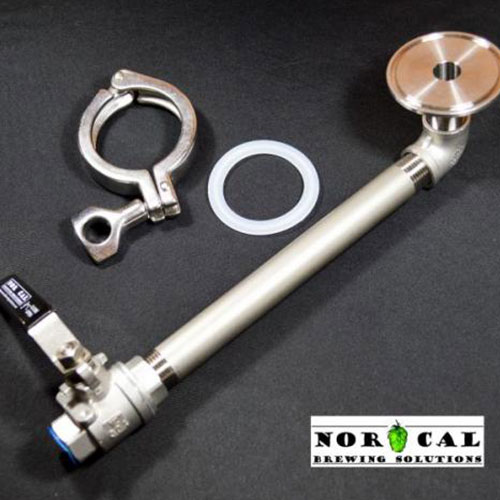
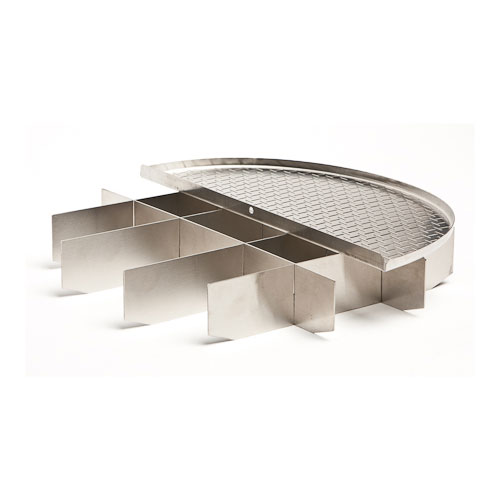
As mentioned before, I decided to use the existing sanke connection as the bottom of my mash tun. This provided a central point for the wort to flow out of the mash tun. Using a setup from NorCal Brewing Solutions, I was able to attach a 2” Tri-Clamp fitting to the bottom with a 1/2” NPT elbow and pipe. On the inside, I put in a PICO Keg/Keggle False Bottom Assembly.
Doing it this way will also require you to create a small stand to set the mash tun on. A few chunks of scrap 2x4 did the trick.
Tips
So I have started writing this blog post over a few months, and have actually used this setup a few times since starting. There have been a few things I have come accross that have been pretty helpful.
1. Pre-Heat the Tun!
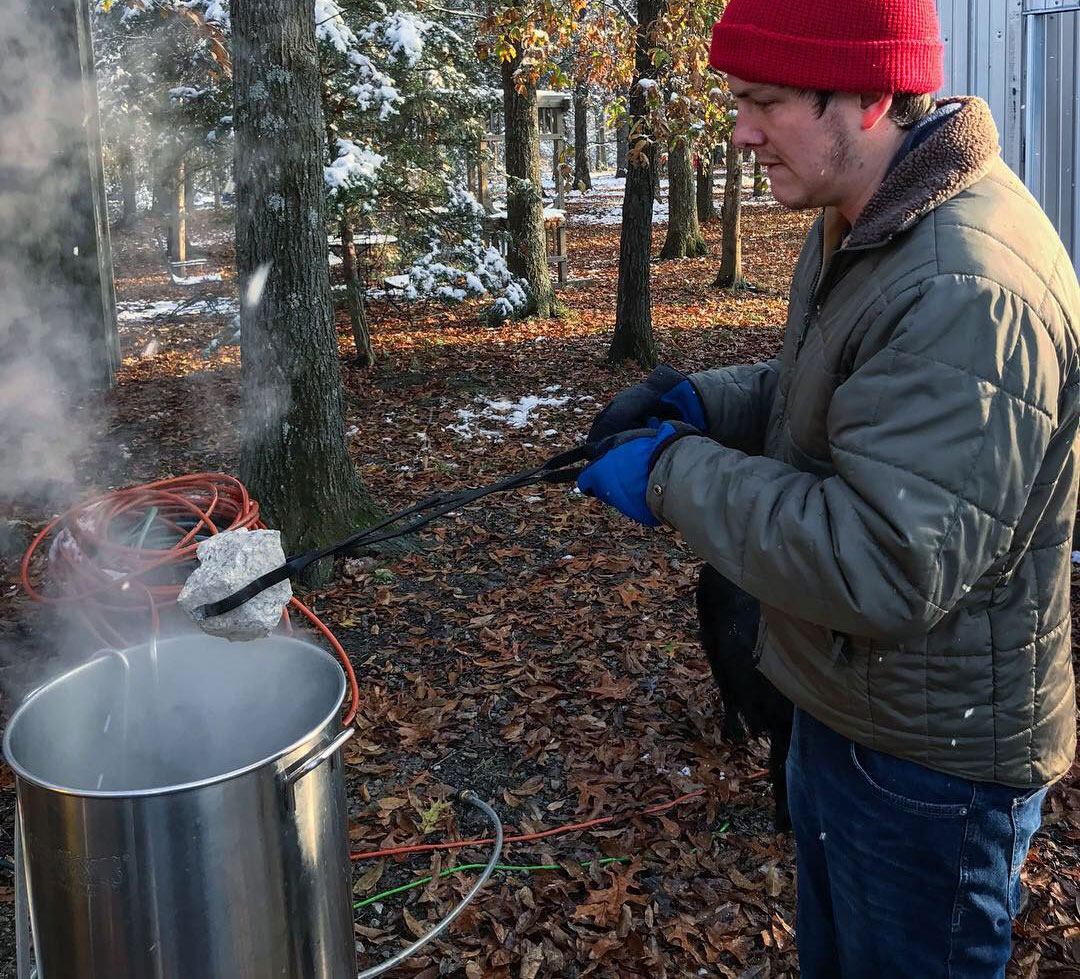
With a kettle like this the stainless and rubber need to be pre-heated. From what I have found the heat absorption rate is slow, so if you strike and hit your temp when the kettle is cold it will slowly drop 6-8 degrees. This is due to the stainless and rubber slowly absorbing the heat and not retaining it. However, if you pre-heat your kettle with some hot tap water before striking, your heat loss will be less severe (maybe 1-2 degree depending on your ambient temp).
2. Make sure your false bottom has a good seal
Originally I had a 13” hinged false bottom. In most cases this works great! However, in my case my keg had dents and dings on the bottom of it (or top since I used the sanke port). This caused the stainless to not get a great seal, allowing a bunch of grain to pass by the false bottom. This in turn would clog my grant and create some initial headaches in the vorlauf process.
Mash Tun Overhaul