Build a better blowoff assembly
The Reason
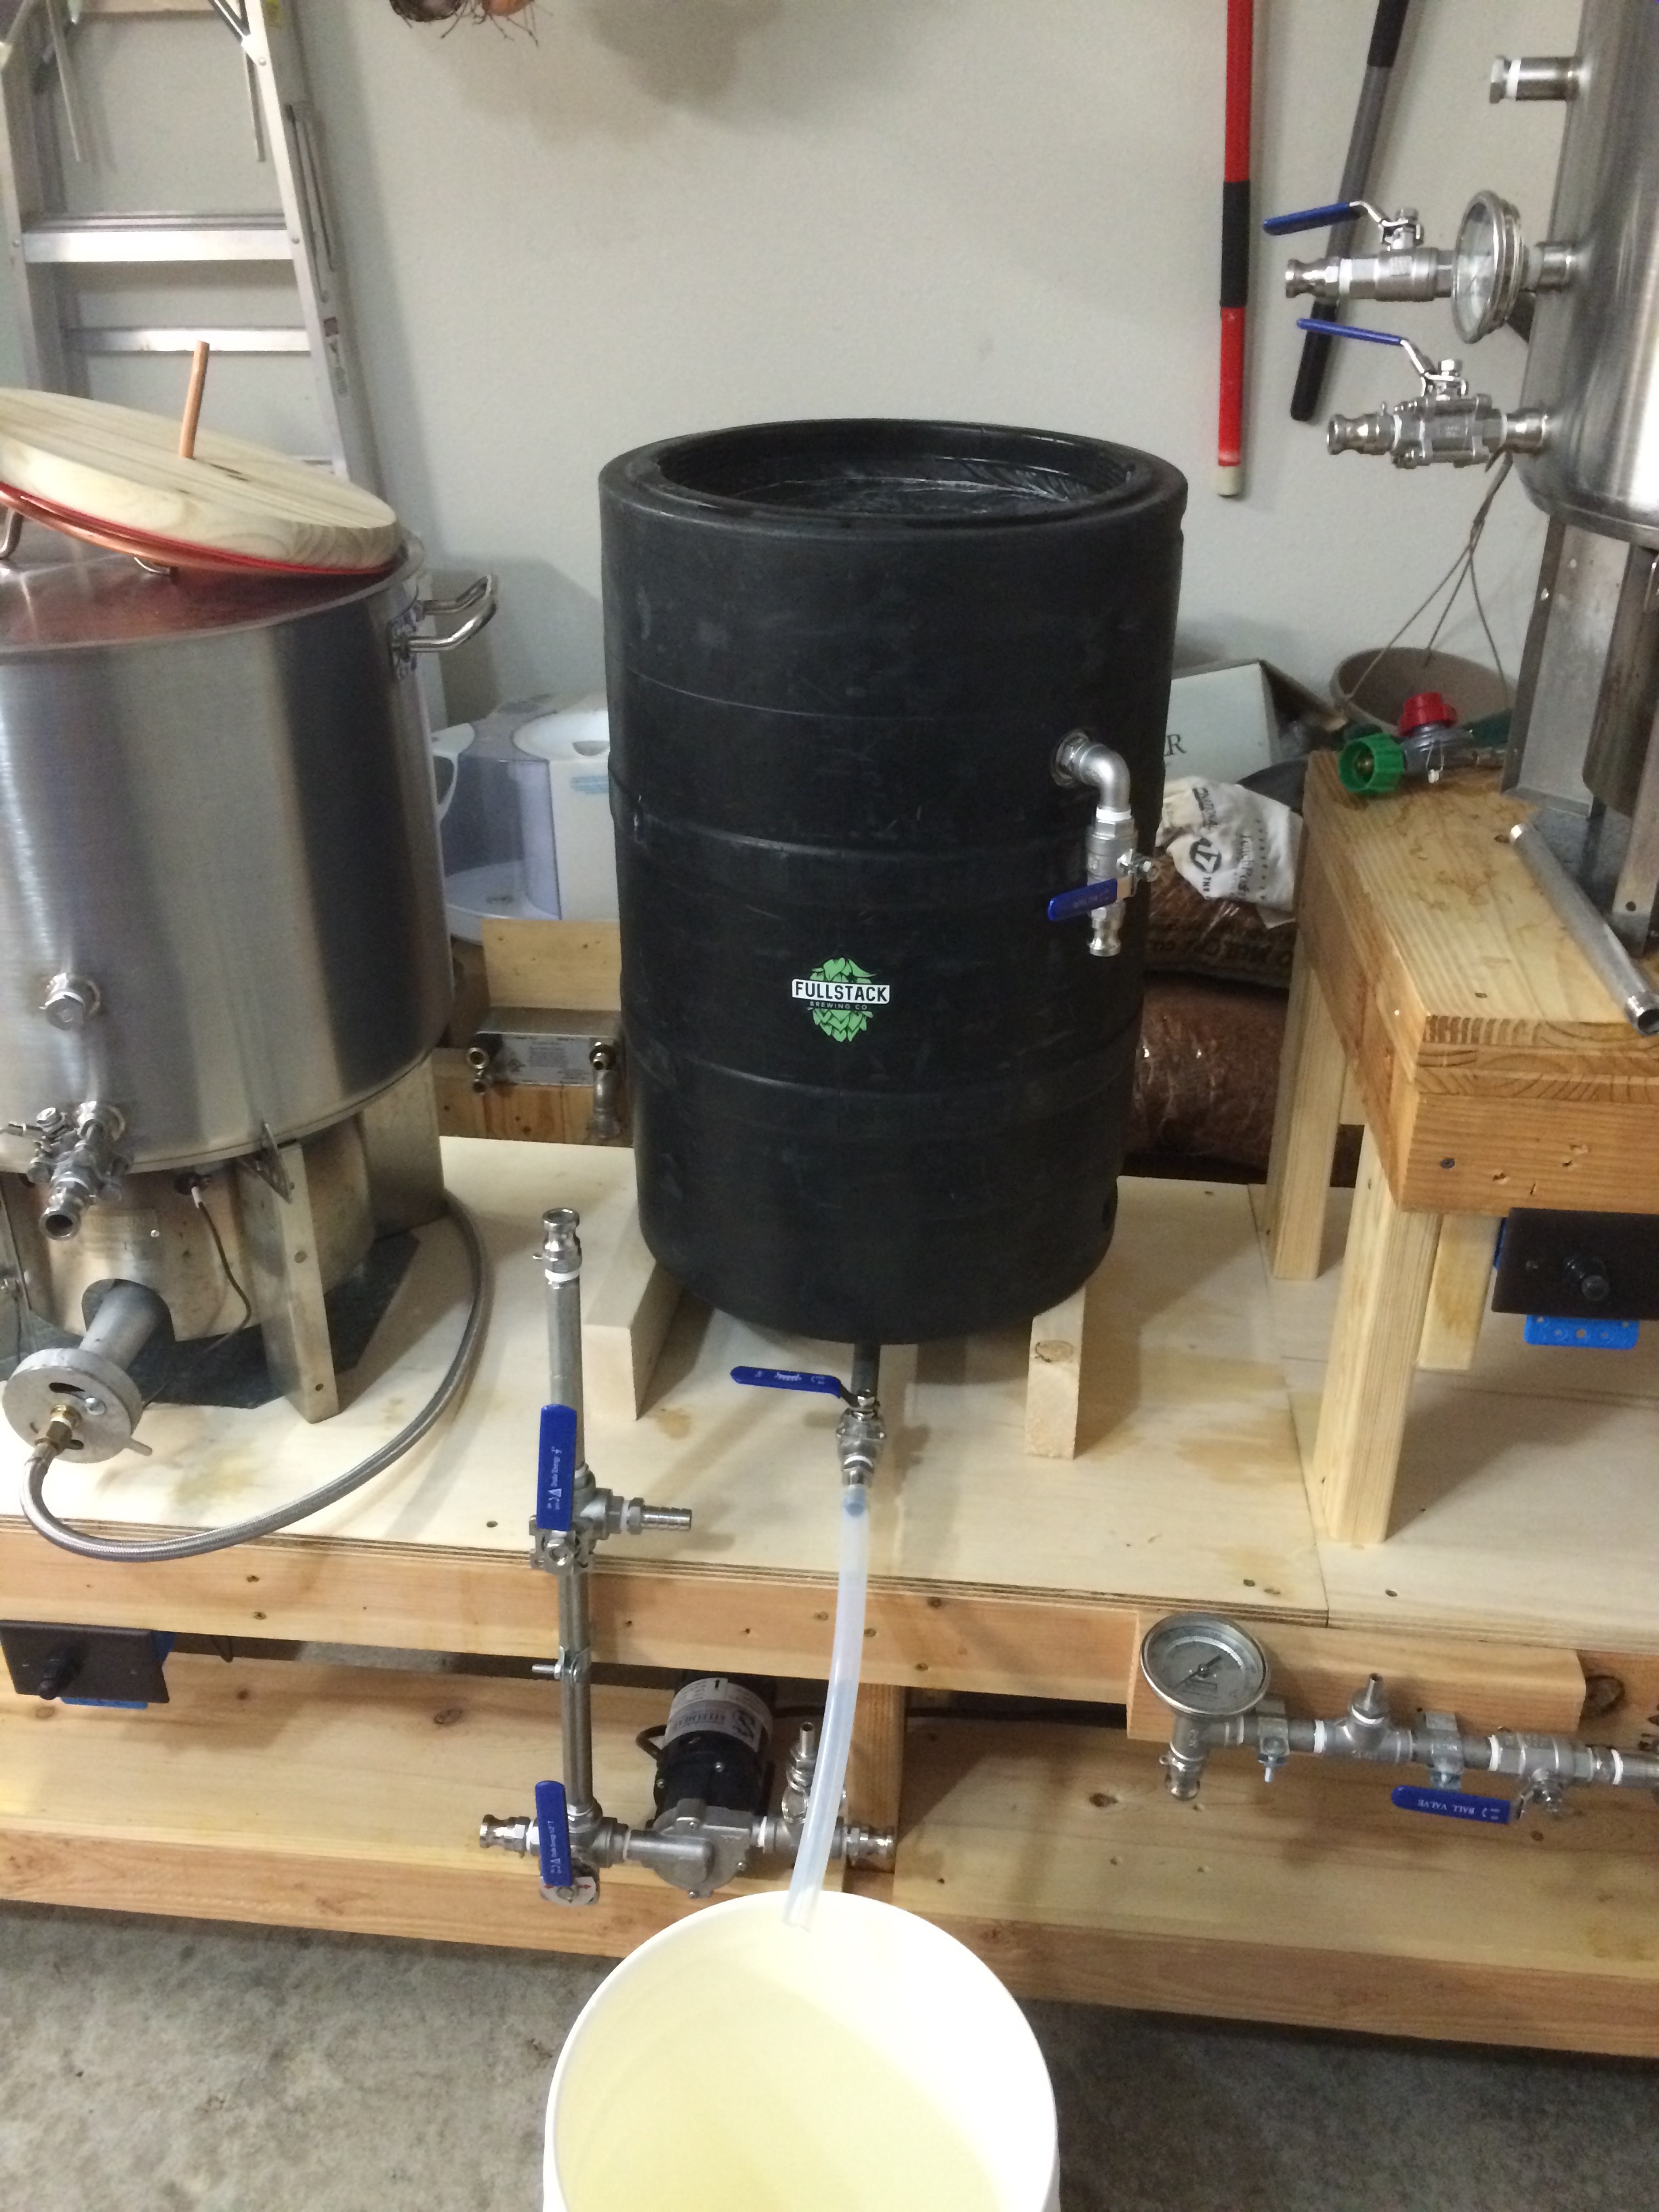
I got my first stainless conical about 2 years ago. It is a Blichmann 14 gallon Fermenator. I was in heaven. All the
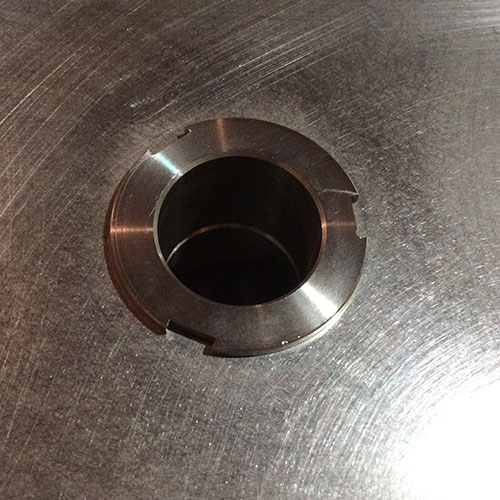
shiny stainless and tri-clamp fittings. It was great, and it still is. Except one small problem: the 1.5” hole in the
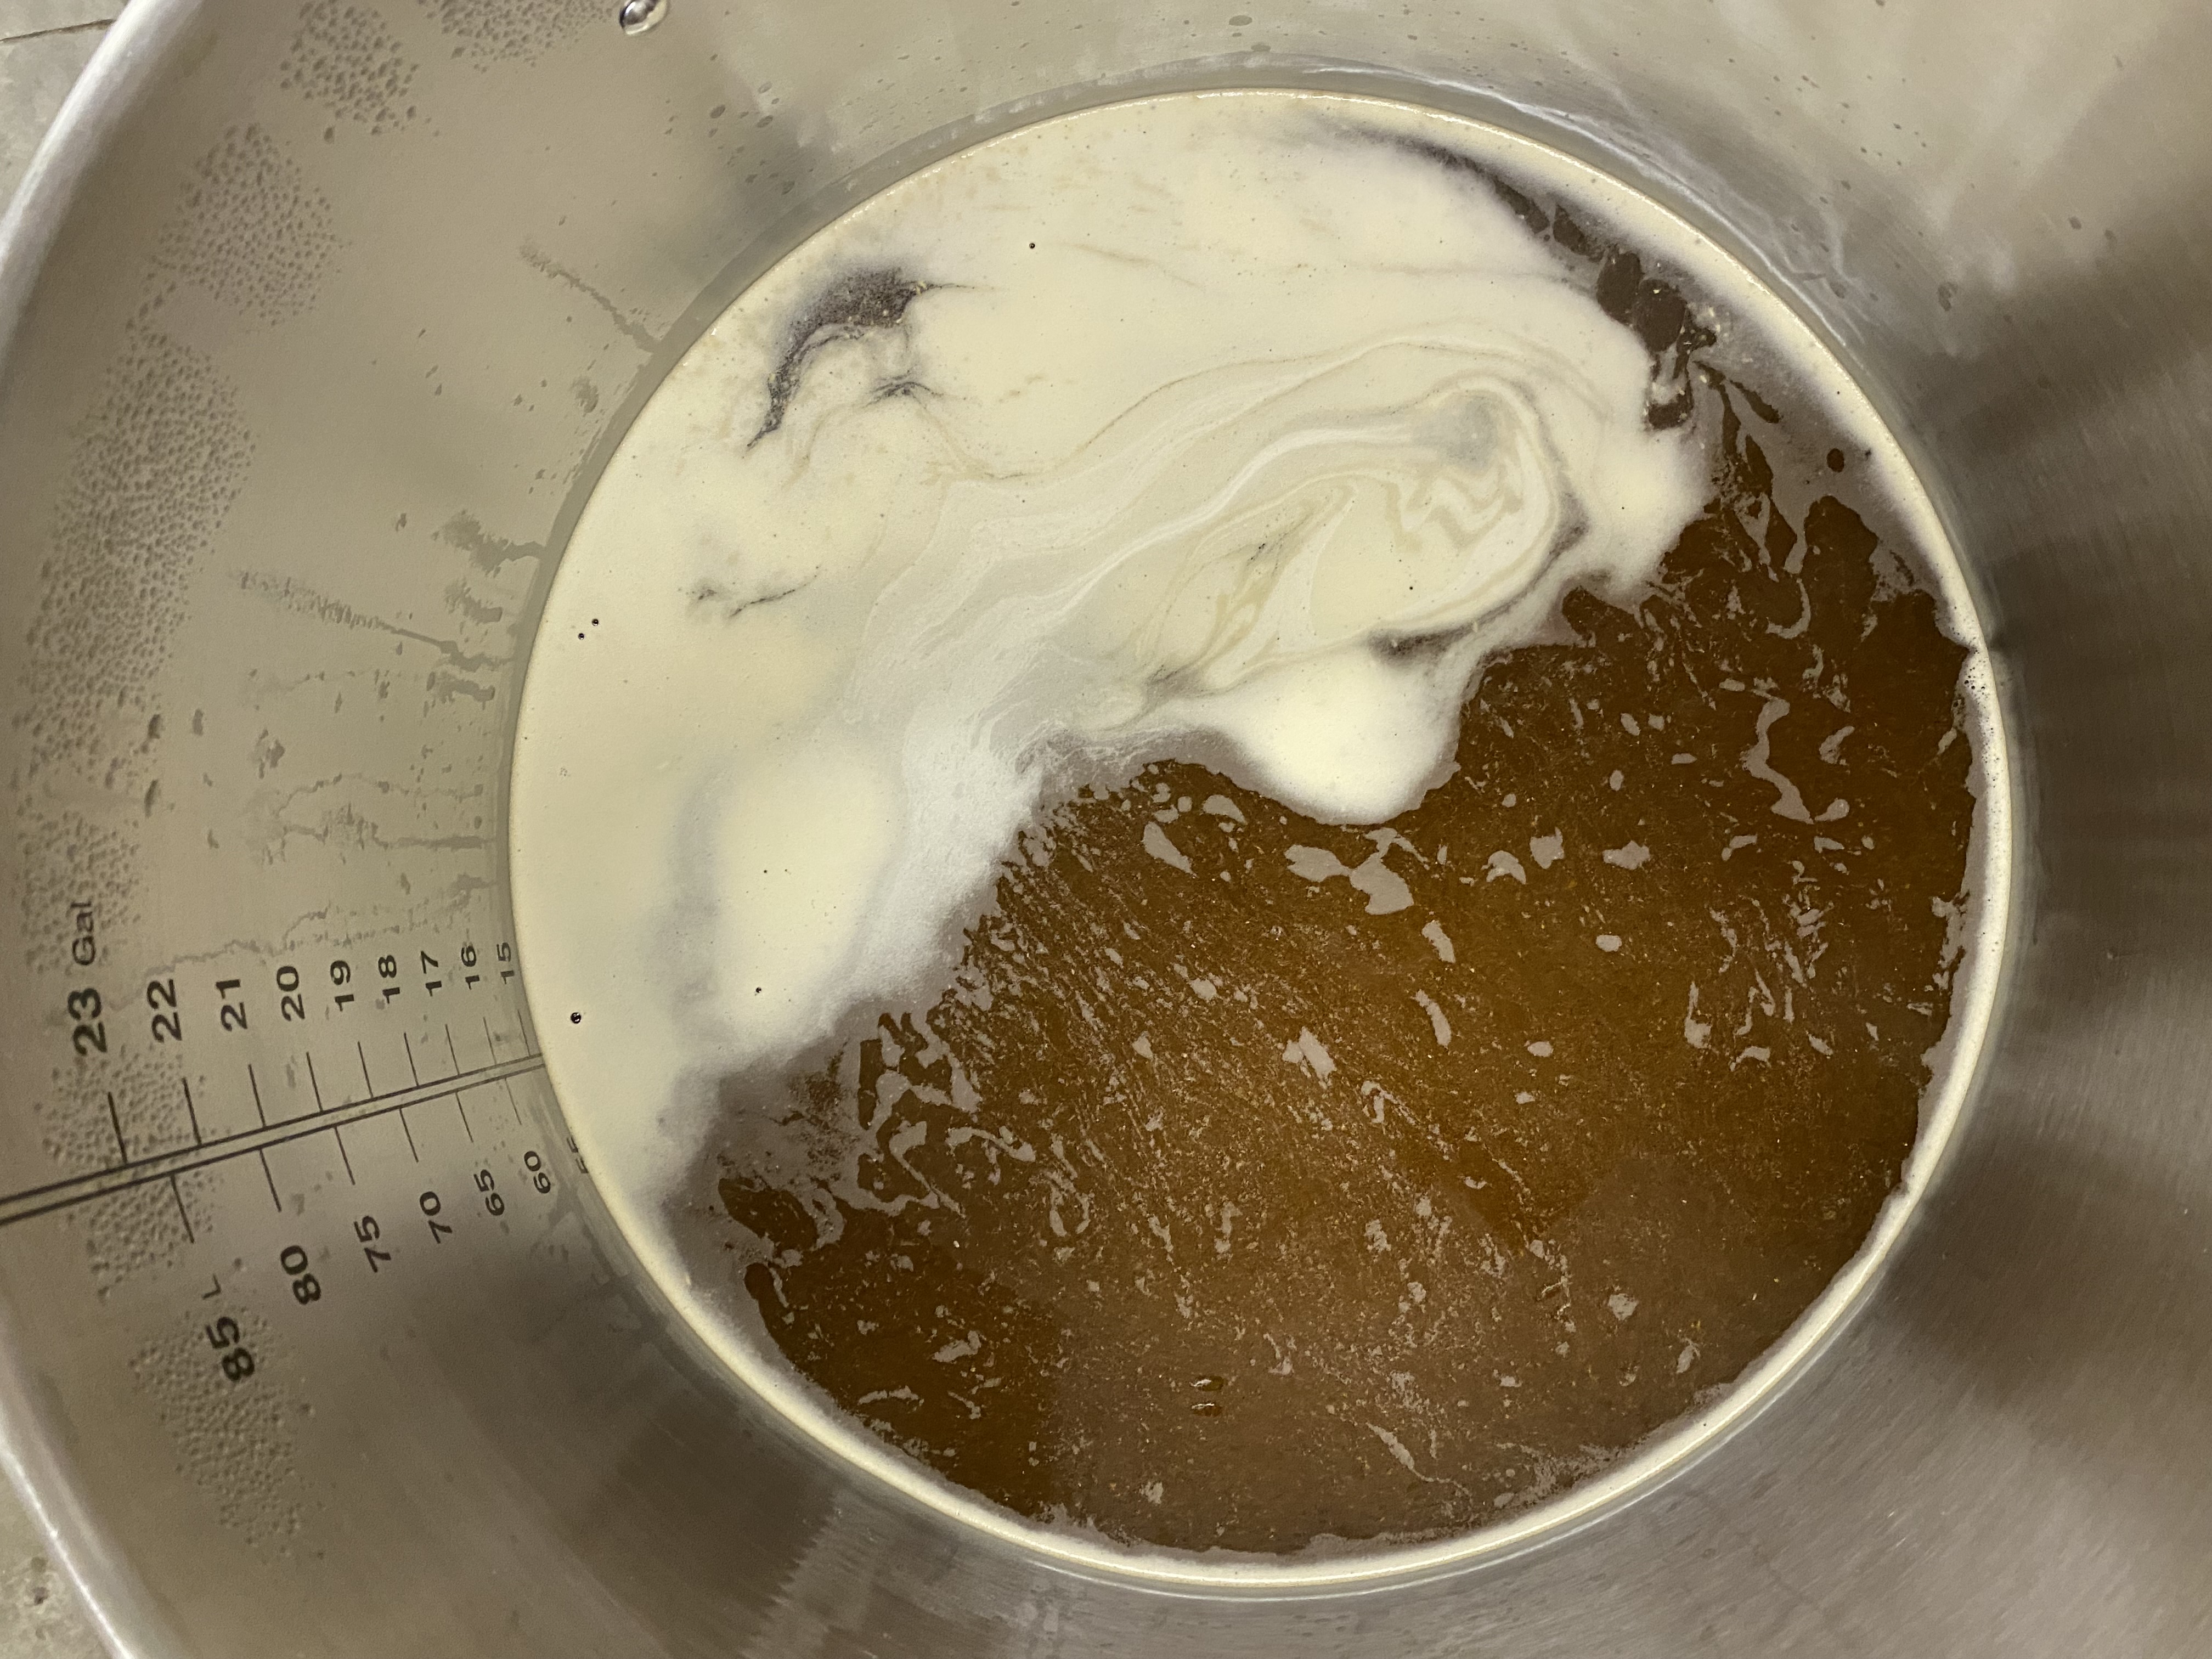
top of the conical made for a bung and an airlock. Now in some cases, an airlock will work just fine. However, from my
experiences, 9 out of 10 times I am going to need a blowoff tube.
The Dilemma
The only solution, and similar solutions for other conical brands, was to buy an expensive assembly that performed one
function. In particular to the Blichmann conical, the assembly runs for about $120-130 depending on where you shop.
Now this isn’t saying it’s a bad product. This will last forever given the proper care and would perform exceptionally.
However, the flaw is, where do I put my temperature control probe?
Temperature Control
One of the biggest improvements with fermentation is controlling the temperature. Having your probe on the outside of
your fermentation vessel doesn’t accurately portray whats going on inside. Fermentation is a chemical reaction. This
reaction produces a small amount of heat which can raise the temperature internally compared to the outside of the
vessel. There is also the case of the mass of fluid and the temperature differential between the outside edge and the
center of the vessel. The best way to determine the core temperature of your fermentation is with a thermowell. So how
do we incorporate a thermowell and a blowoff assembly with only one port?
Part List
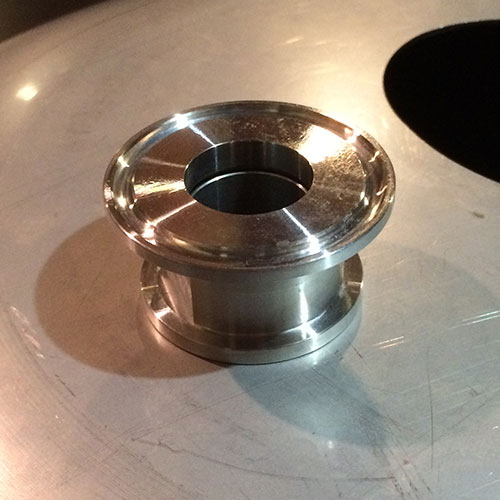
- Blichmann Bottom Dump
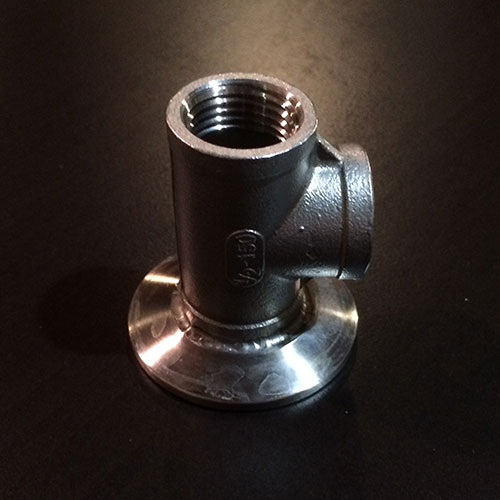
Fitting - Great Fermentations - Tri-Clamp to 1/2” NPT
Tee - NorCal Brewing Solutions - 1/2” NPT 12”
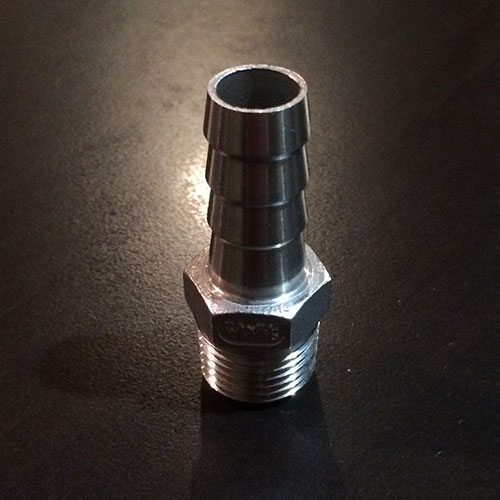
Thermowell - Amazon - 5/8” with 1/2” NPT Hose
Barb - Bargain Fittings - 1” Bottom Dump
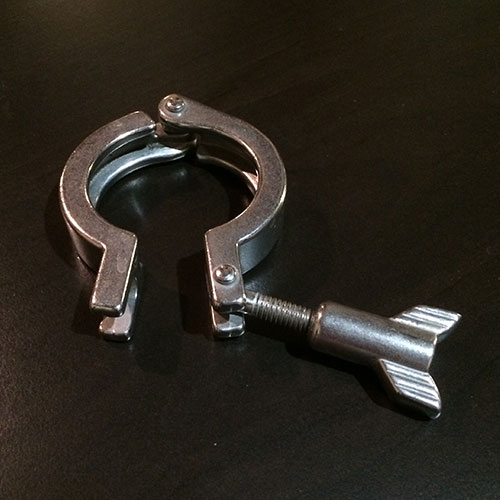
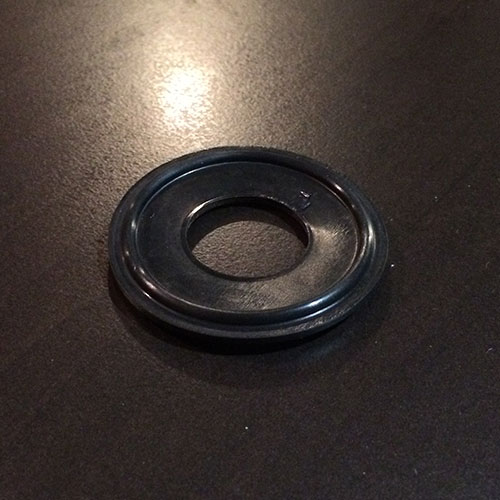
Gaset Great Fermentations - 1-1.5” Sanitary Clamp Amazon
Construction
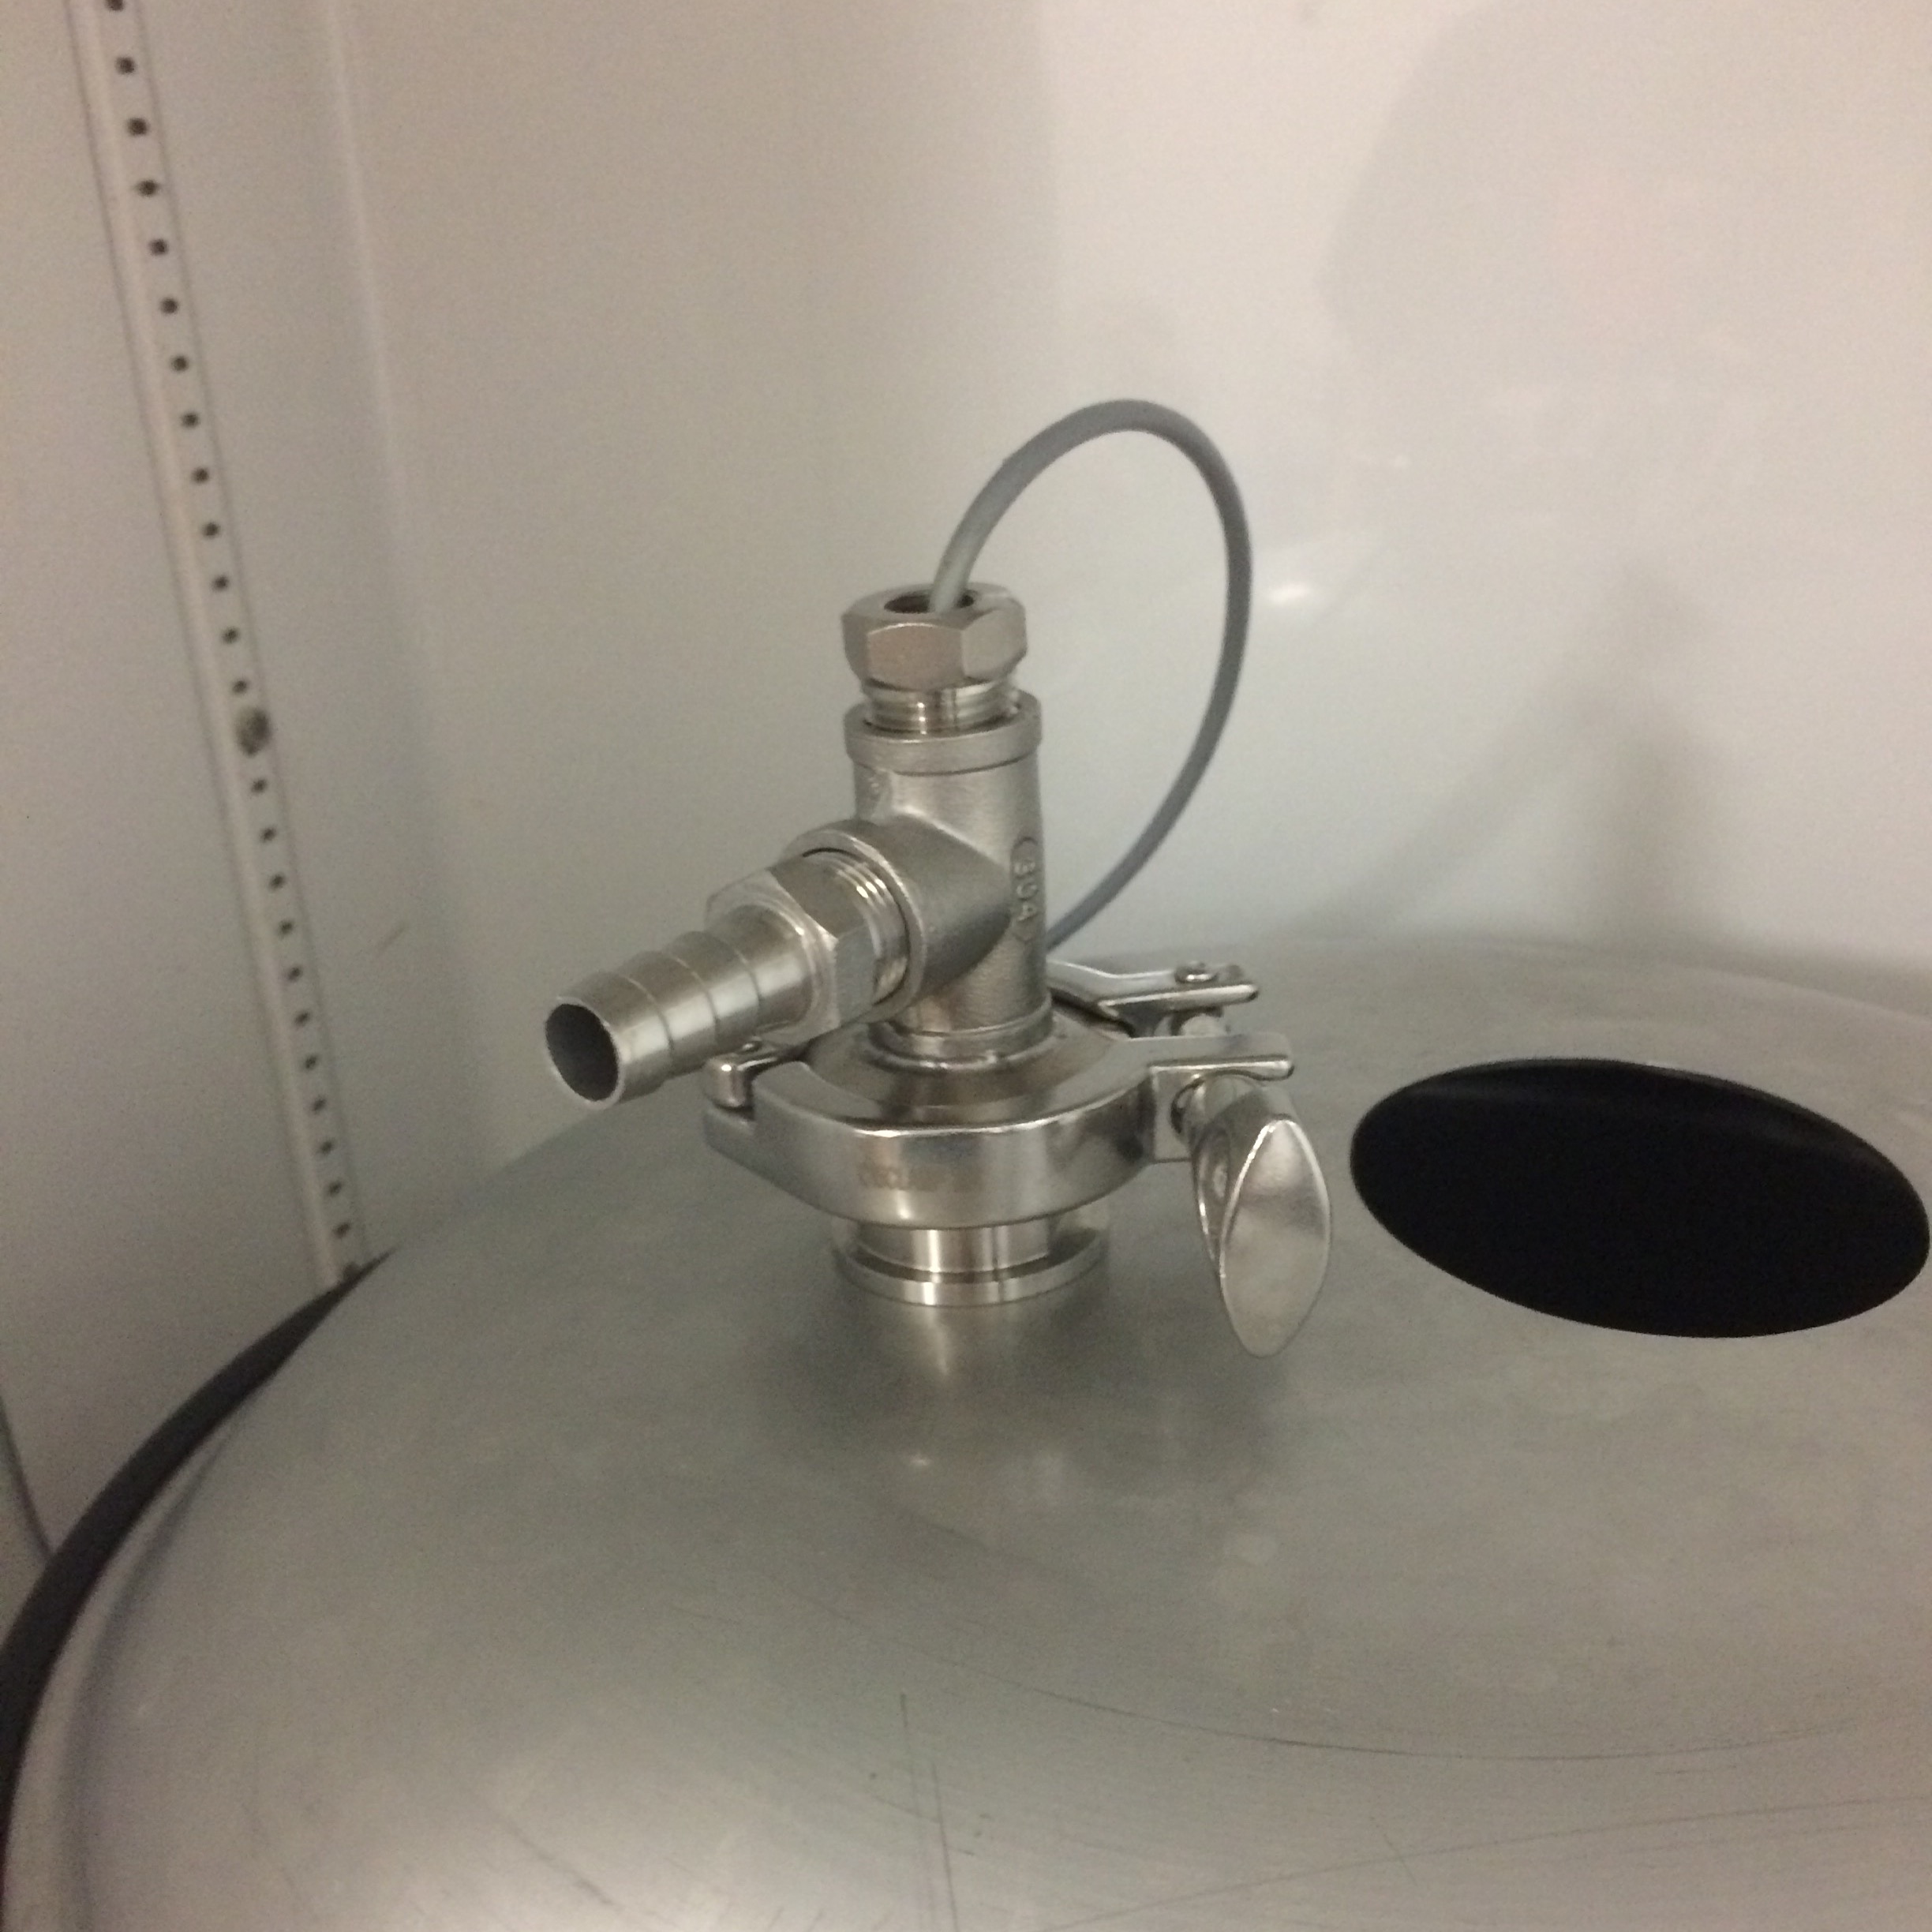
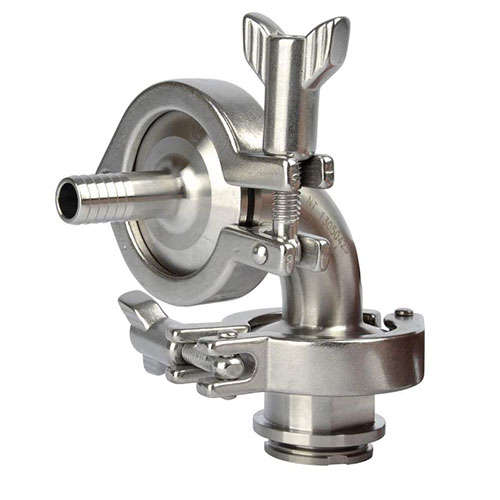
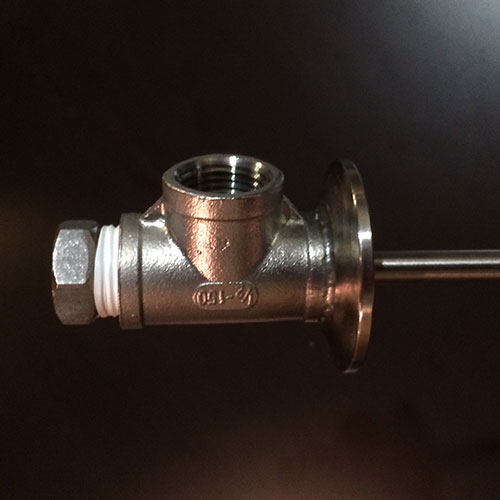
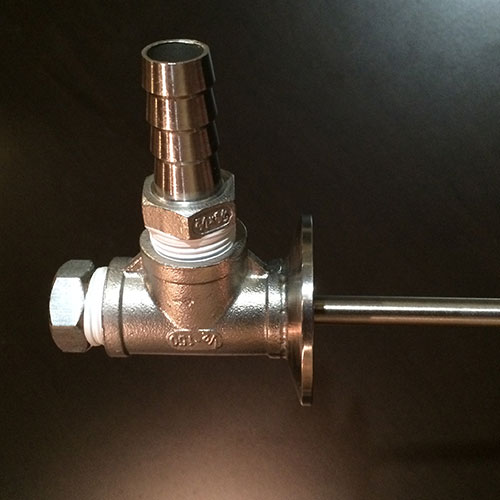
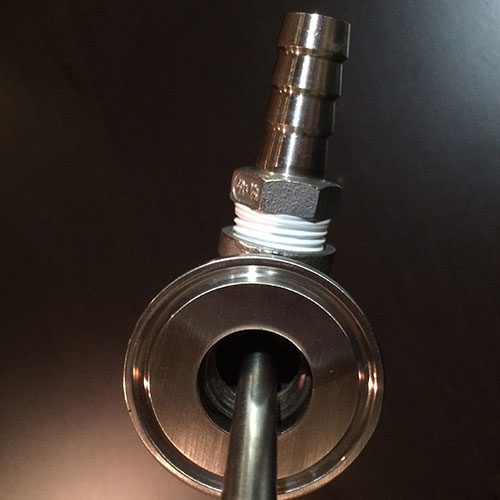
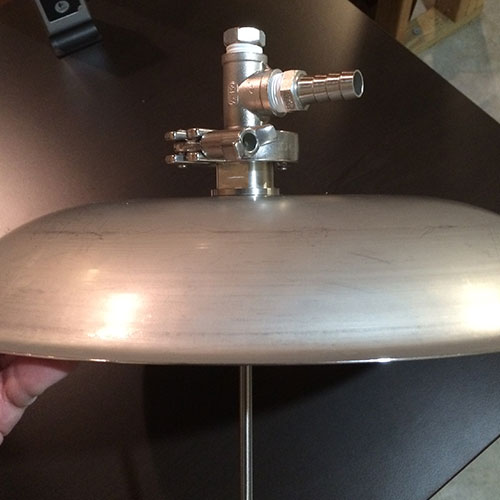
The first step we need to do is put together the three main parts: thermowell, tri-clamp adapter and barb.
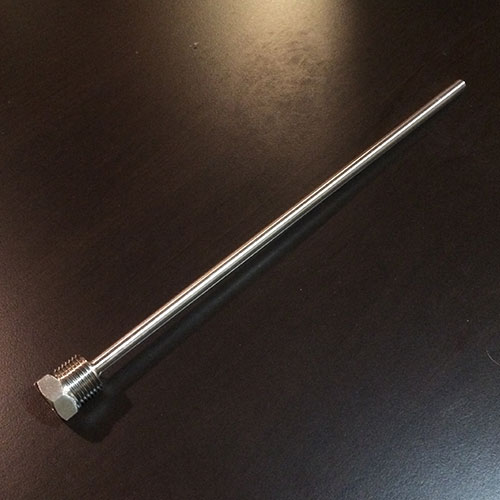
Assembly is straight forward. You will want to thread the thermowell into the top of the tee, and the barb on the side.
This is the only way this configuration will work so it’s pretty fail proof! Don’t forget to add thread tape to all of
your NPT connections.
Next, if using a Blichmann Conical, you need to attach the Bottom Dump fitting. This is the same fitting used if you
purchased their blowoff assembly and fits the pre-cut hole in the top of the conical.
Now it should be very apparent how this is going to work. The thermowell will penetrate almost to the center of the
vessel, while still leaving space within the NPT Tee for Co2 and yeast to blow out. The extra large 5/8” Barb helps to
ensure we don’t get any clogs. Most 1/2” barbs inner diameter are a little smaller. Using a more flexible 1/2” ID
silicon tube will go onto this barb fairly easily and end up in a blowoff bucket.
Now that it’s put together, all we need to do it attach it to our Tri-Clamp bulkhead on the lid of our conical using our
gasket and sanitary clamp.
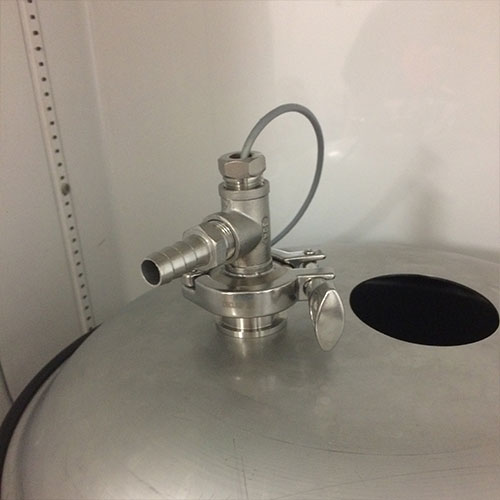
Pushing with Pressure
Another advantage to this setup is being able to swap the barb out with any 1/2” NPT fitting. When I am ready to cold
crash, I can take the barb off and put a smaller one on. Then, I can hook up my Co2 tank and add a small amount of
pressure to it. As the beer compresses due to the cold, I will be sure to keep a positive Co2 pressure within the
vessel.
Later, when I am ready to keg, I can apply more pressure to the vessel to force it into a keg. This keeps a layer of Co2 present within the vessel and keeping oxygen out.
Build a better blowoff assembly
http://fullstackbrewing.com/2016/12/21/Build-a-better-blowoff-assembly/